.png)

Over the years I've picked up quite a few makeup tips and tricks that I use every time I apply makeup. I've found simple makeup tips to generally be most effective, and they is really are a few gems!
So today I wanted to share with you the best easy makeup tips that I personally recommend trying out. From how to perfectly blend eyeshadow to creating a smooth eyeliner flick every time, I really hope you pick up a few things here!

So here is a quick and easy tutorial on how to make your own tinted lip balms... if you haven't sussed it out already that is!


- Place a small amount of the Pout Paint(s) into the pot. If you want to use a few shades you could mix them together in the pot to see the exact shade and then add more of one shade if required to get the shade you desire.
- With your finger scoop out some Vaseline and place it on the spoon however make sure not to put too much on as the volume will increase when melted.
- Turn on your hob to the highest setting it goes to and place the spoon just over the heat. You want to make sure all the Vaseline is fully melted and totally liquidized.
- Turn off the heat and carefully pour into the pot straight away making sure not to let it cool. It should be easy enough to pour directly into the pot but just in case of any spills do not hold onto the pot and be really careful as the Vaseline will be extremely hot.
- Next with the actual end of the brush you have, mix the melted Vaseline and Pout Paints together thoroughly until you are sure they are totally combined.
- While the mixture is still liquid but slightly cooled, test the shade on the back of your hand to see if it is the colour you want. If it isn't then you still have time before it sets to add another shade into the pot.

- This was 3 parts Cloud 9 (white) to 1 part Mauve Over (purple pink). This is quite sheer but my favourite!
- This one was actually Mauve Over on it's own but it didn't actually turn out that well as I didn't actually use enough.
- Pin Up (red) on its own.
- This was my last one in which I use equal amounts of Cloud 9 and Mauve Over then at the last minute I added a bit of Pin Up. Very pretty.
Really hope this has been interesting for anyone that has a few of the Sleek Pout Paints or even if you are thinking of purchasing a few but are wondering if you will end up using a lip colour that is so highly pigmented.
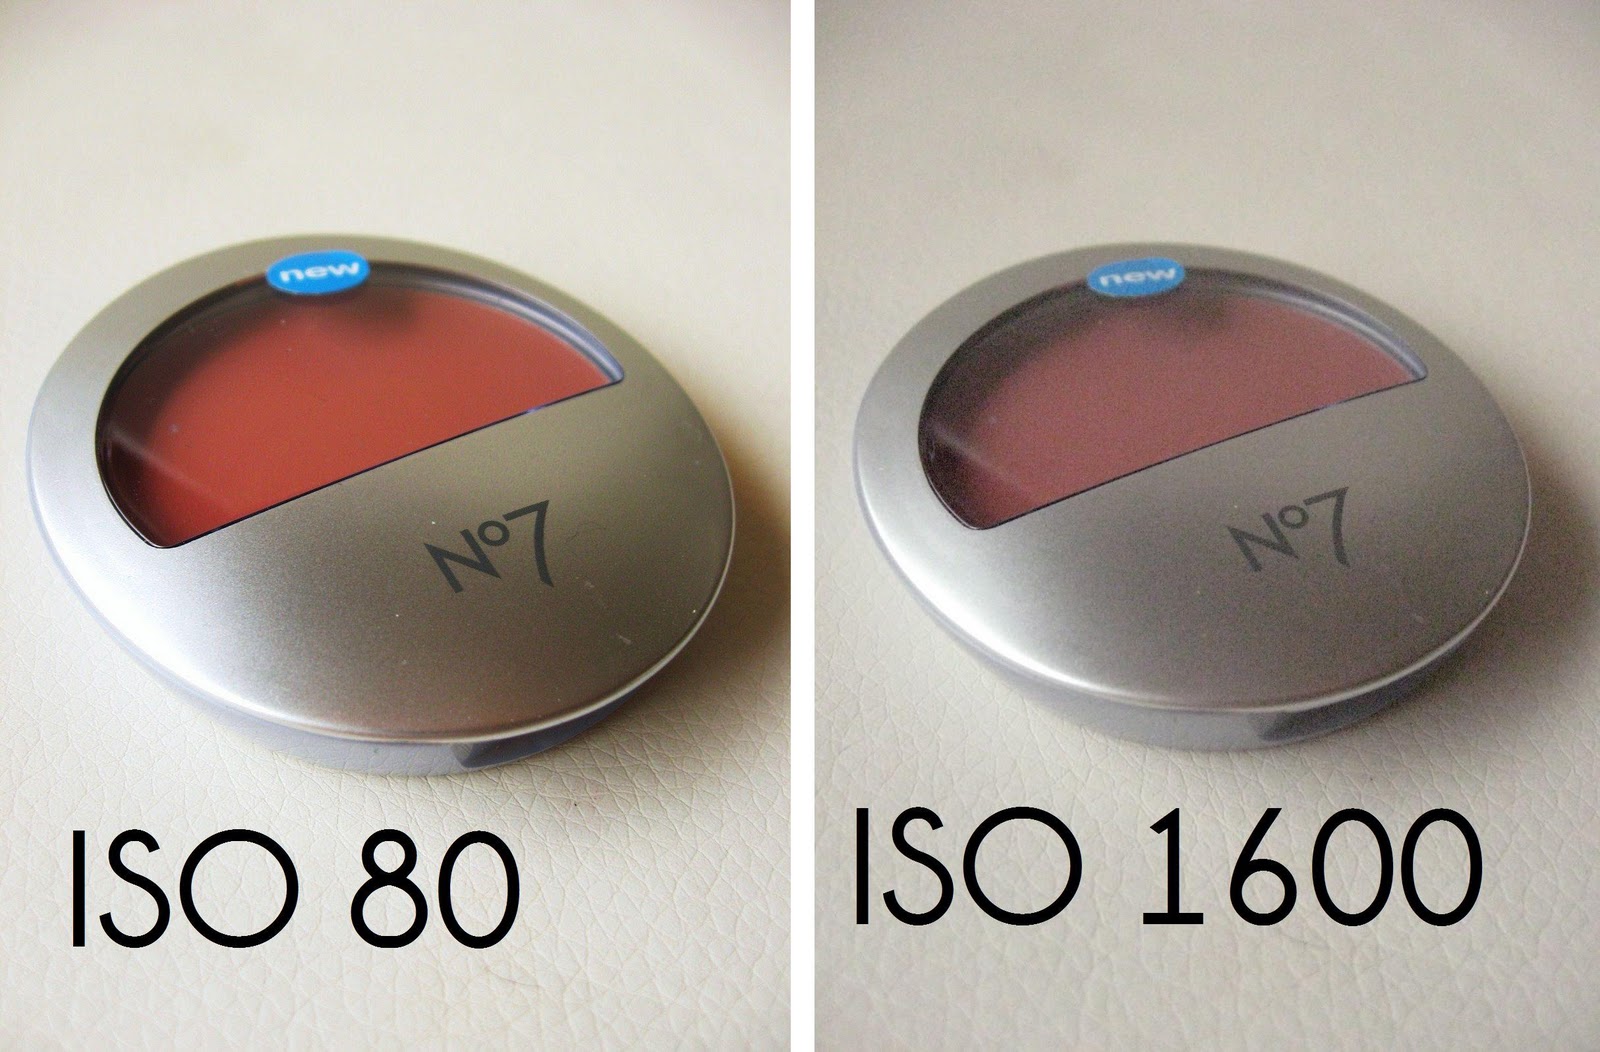
Ok, so now onto the camera itself. I'm guessing if you are reading this you have a pretty standard run of the mill digital camera that has at least an Auto and a Manual setting. First thing is to switch to manual, and look at your ISO settings. Most times it will be on auto even though you are in manual. As you will only be shooting in daylight you need the lowest ISO possible as you want the crispiest image.
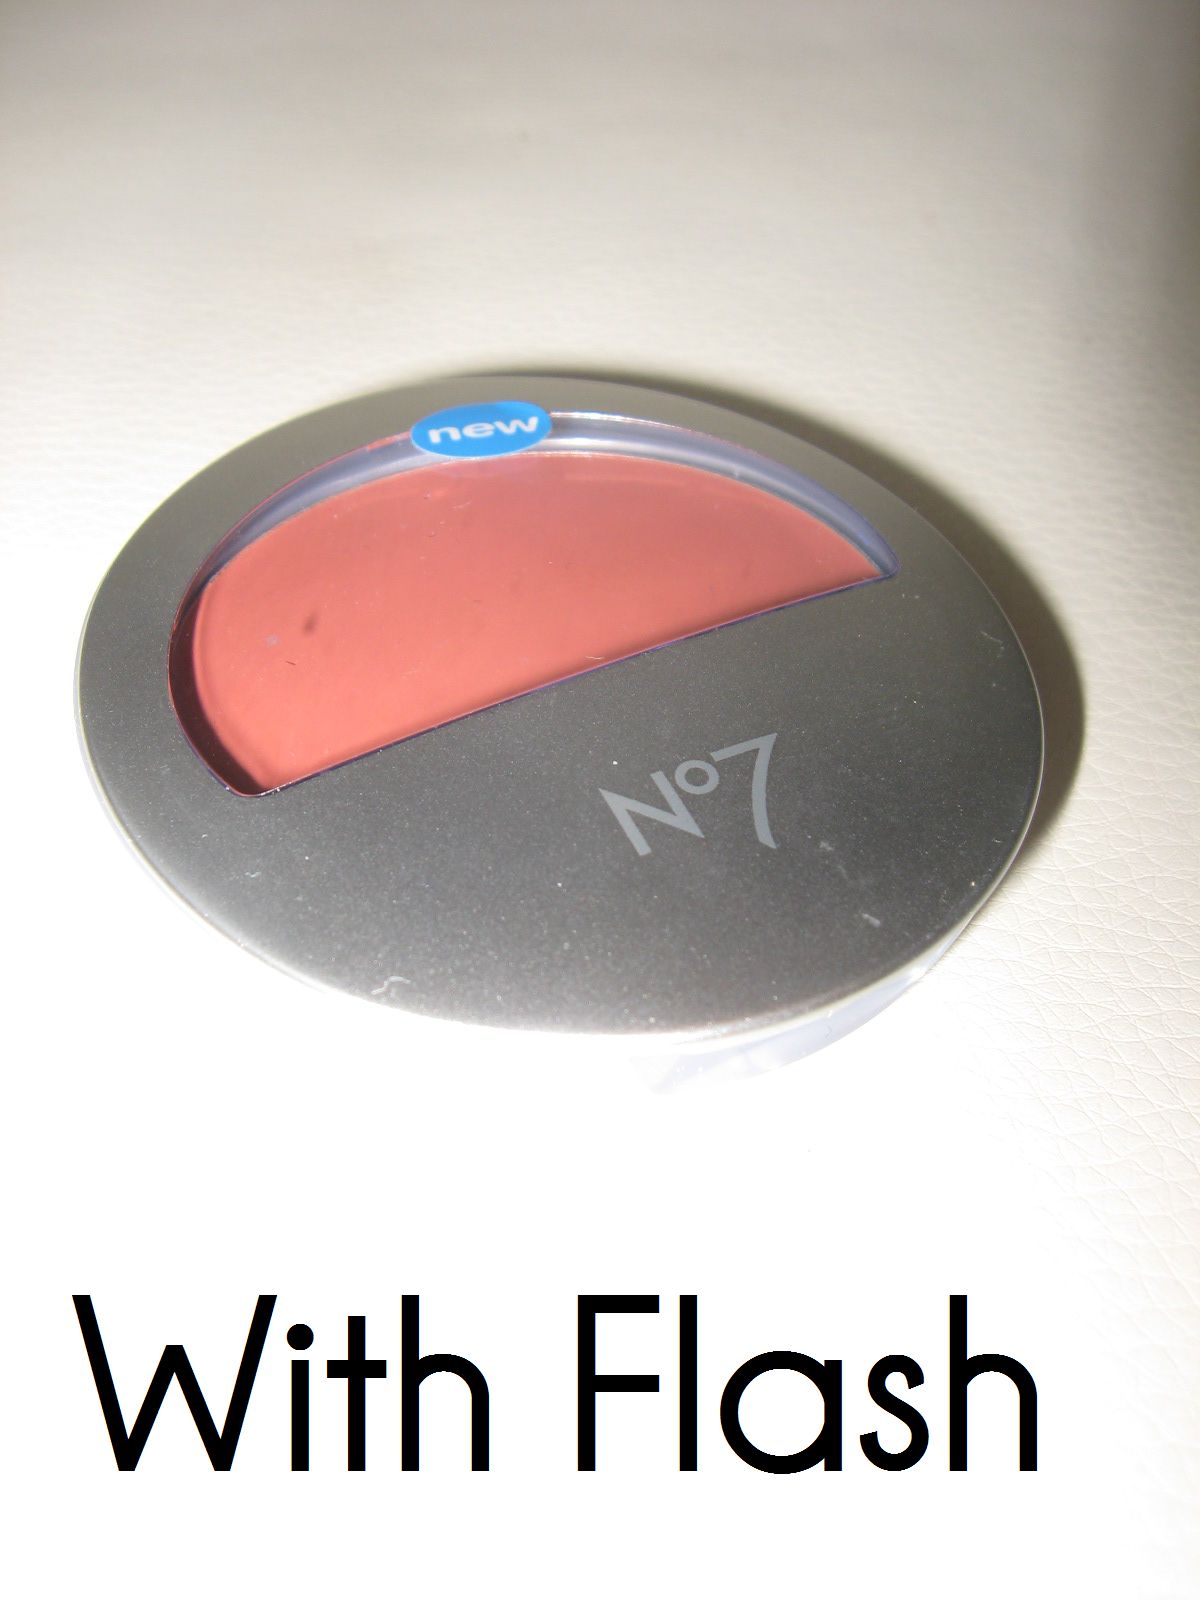
Lets start with taking photos of your makeup in daylight - Chances are in daylight you don't even need flash, however to hold your arm out without it shaking and making the image blurry is quite hard, unless you have a fast shutter that takes the photo as soon as you press the button down. If that is your camera, then lucky you, just face the window or turn the light on and that will be enough.
As for if you want to take a close up macro shot of your eye - the best possible time is to do with without flash in day light with a very steady hand. However if nighttime is all you have using tissue paper or cellotape over the flash on the front of the camera can really help with not washing out your eye makeup. But really just play around!

If you camera just won't focus and your images in macro are blurry you are putting your camera to close to the product.
When taking a macro shot it is so important to keep your hands steady or else you will have a blurry image, so if you can't get use to holding the camera really steady sitting it on some books may help or using a gorilla pod which is basically a flexible tripod (you can find them on eBay for as little as £3).
If you have already used your camera in macro mode you will know it is fairly easy to use - you just press the shutter button half way down until it focuses and then press it all the way down and take the image.
Now you may want the whole of the image to be in focus or you may want the centre to be in focus or you may just want a certain part of a product in focus and the rest blurred out.
You can do all of this in your settings which looks abit like this -
If you have this setting there should be three choices - they are actually called Metering Modes. But you don't even need to know that, you just need to get what they do!
Evaluative or Matrix metering mode
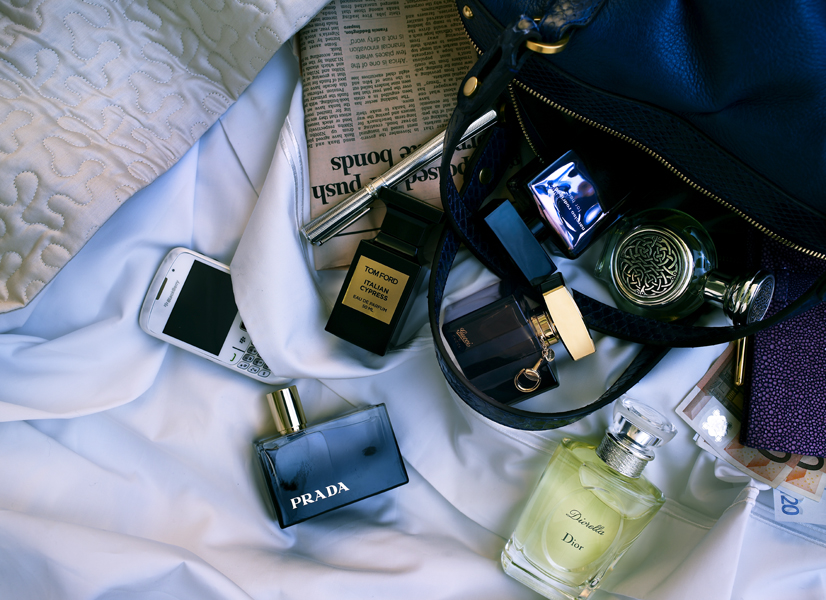
This is what I took the image above in and as well as in macro mode. This is the most common setting that will work with take photos of landscapes or when you want everything in focus. The icon is just two brackets with a spot in the middle and smaller brackets around the spot. This is what you should use when you want everything to be crisp and in focus, maybe when you want to take a picture of lots of products and you want them all in focus. It is also the default setting of most cameras.
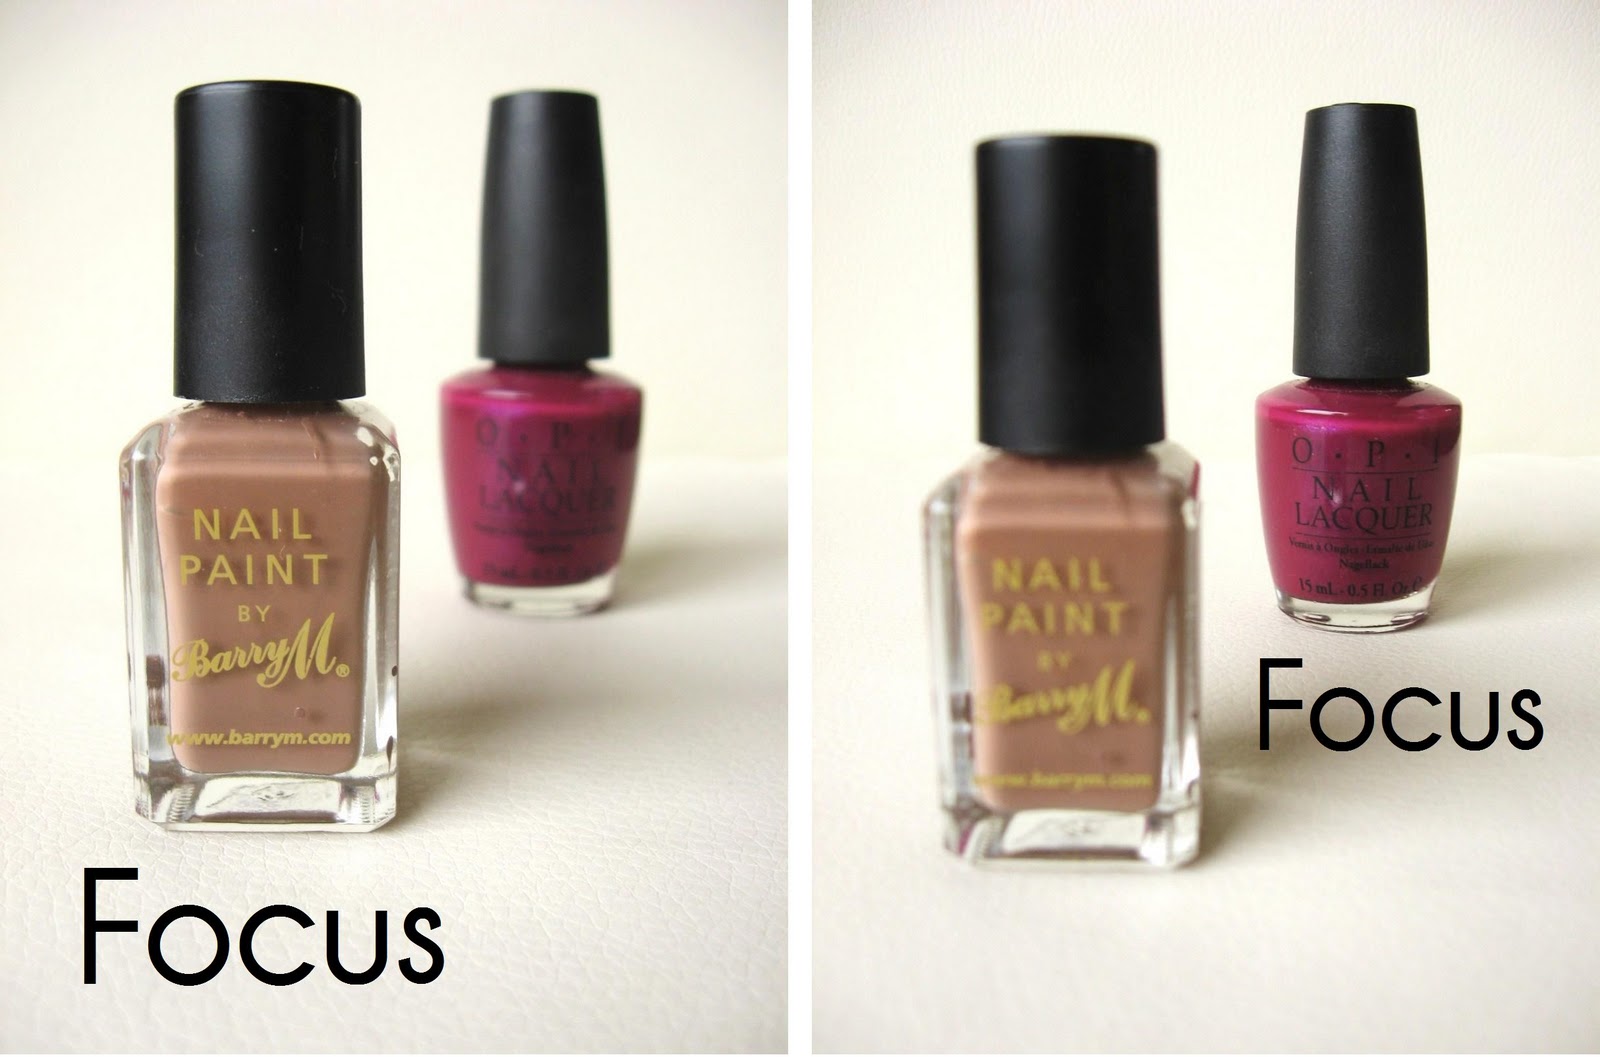
Center Weight Metering Mode
Again this is how I achieved the two images above - this is for when you want to focus on a specific item in a group of product, so you can pick which product you want to keep in focus and the rest will be blurred out.
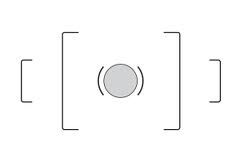
The icon for this is just two brackets [ ] and no spot in the center.
To pick which part of the set up you want to focus on you must press the shutter button down half way and you will see two brackets appear in the centre on the screen, you must then move the camera over to that product you want to focus on and you should see the brackets jump to that product. Then release the shutter complete, move the camera back to it's original position and press the shutter down again and the brackets should still be on the product you want to focus on, then take the shot. It is slightly hard to explain - but it really is worth playing about with and seeing the brackets move from one product to another.
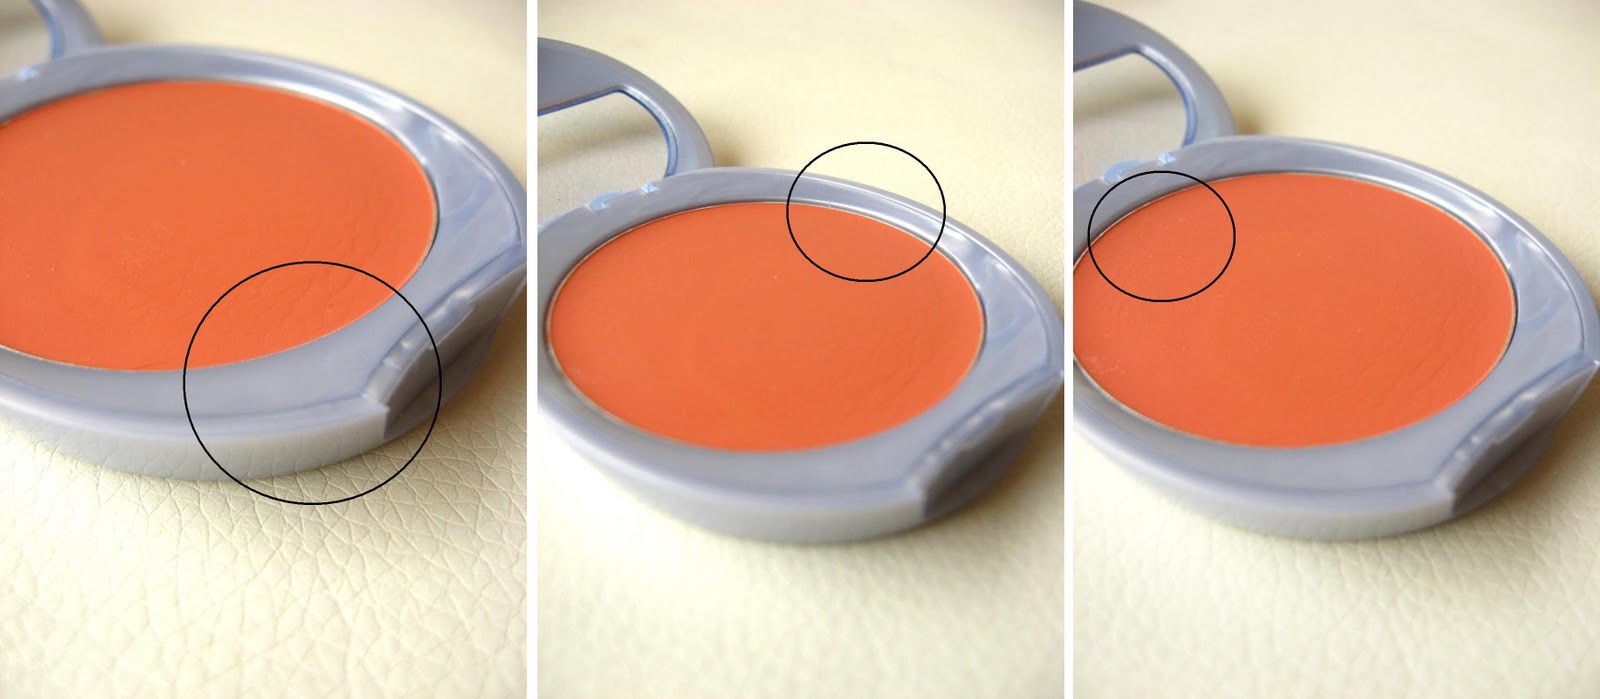
Spot Metering Mode
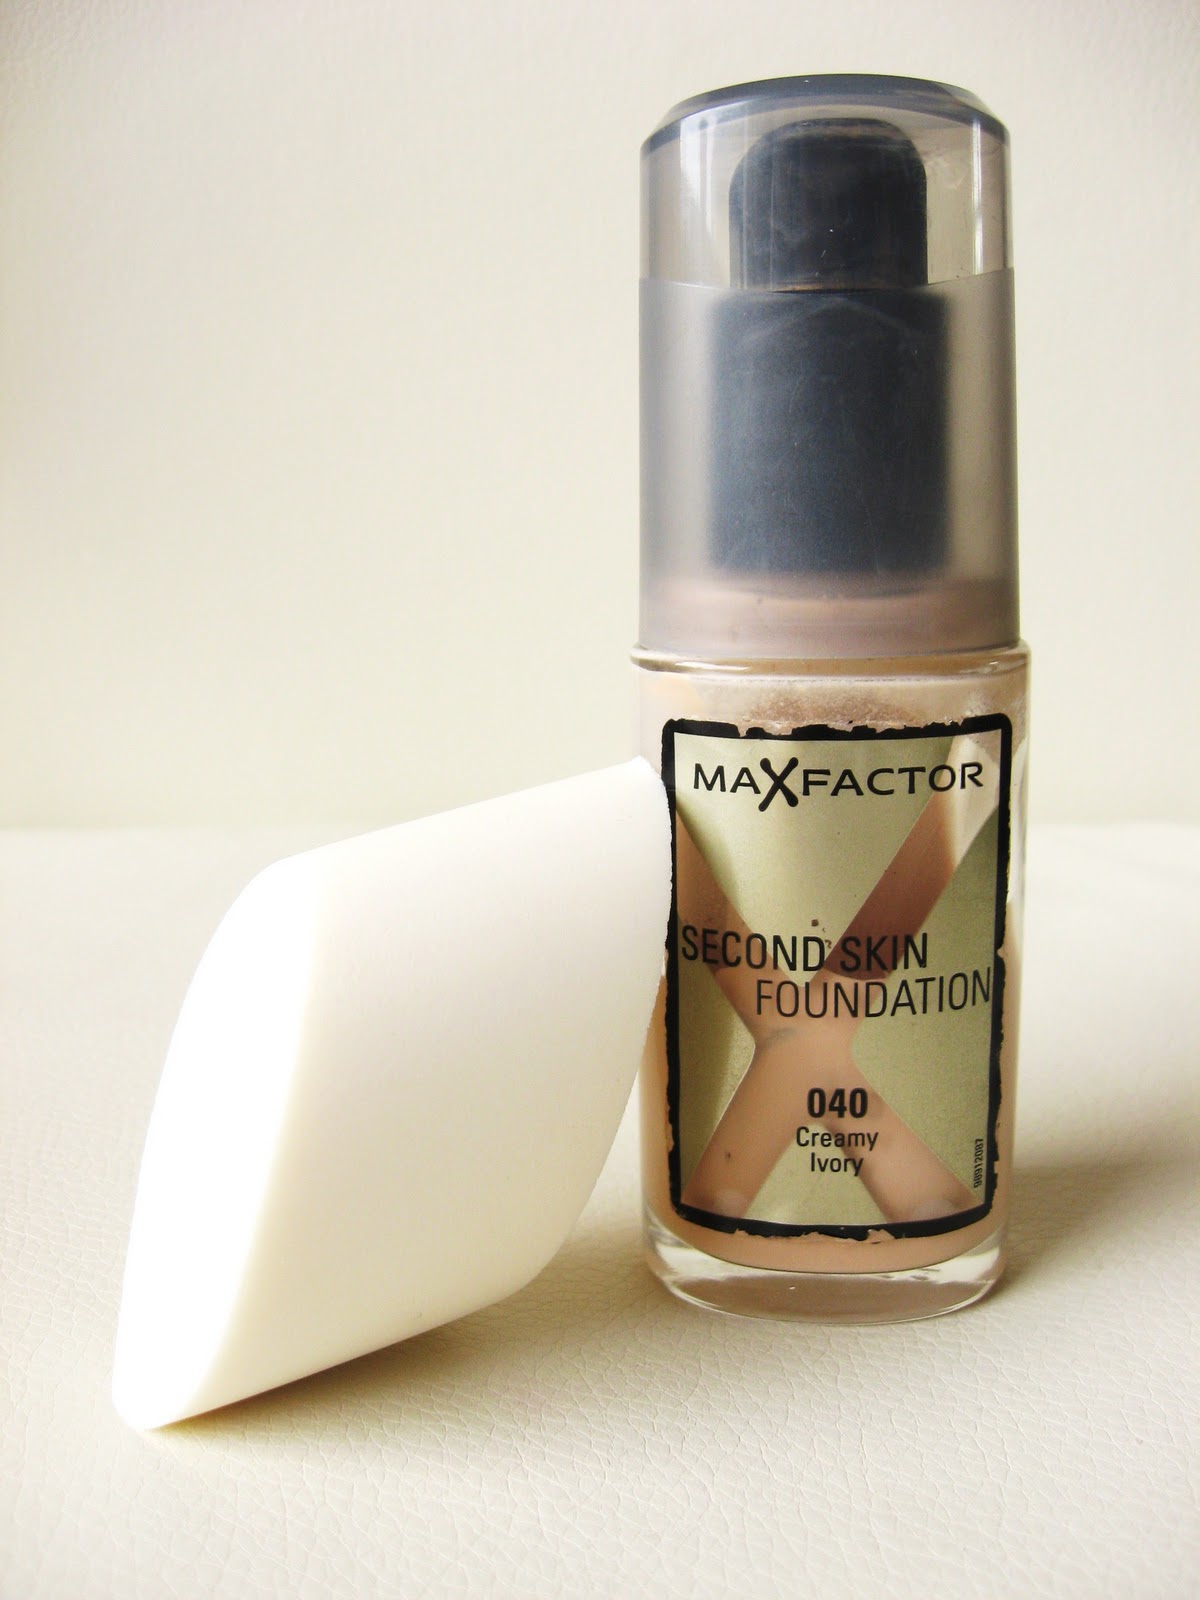
This is for when you want to focus on a small portion of a product for example on the tip of a lipstick bullet or on the eyelashes instead of the eyelid. This really focus' on a really small part on an image and blurs the rest outside of that spot.
The icon for this is two brackets and a spot in the middle.
The same technique as I used above can but applied in this mode as well, to pick which area you want to focus on.
This is perfect for up close product shots where you want to really focus of the texture of a product.
Other Topics
Backgrounds - Someone asked what was the best background to use. I actually just use a chair that is white/cream. But I would suggest getting a big piece of white card around A2 size from a stationary shop. You can then put it in the best place lighting wise and curve it against a wall or some stacked books, so that you can sit your products on the card and you will also have a white background. As for taking self portraits again a plain background is best.
What Camera I use - Quite a rubbish one actually, but I am buying a nice new Canon soon (not expensive at all though & definitely not a Digital SLR). The camera I use at the moment is a Canon Power Shot A560. Really love any camera by Canon or Nikon.
Is it worth investing in a Digital SLR camera - Well you have to really establish what you want a camera for. If it's just for blogging and taking photos of your family or for taking on holiday then a standard point and shoot digital camera will 100% do the job. Also it means you can put it in your pocket or your bag and take photos whenever and where ever. The camera that I plan on buying is a Canon Ixus 100 is, which is around £140 and shoots HD video and has a great macro lense. Which is actually very similar to the Canon 500D in spec, which is around £550!
But ofcourse if you love photography and don't mind using a heavy camera then it is worth the investment.
I doubt I will ever buy a Digitial SLR though.
Photo Editing Software - I don't use anything that complicated, I just use Windows Photo Gallery to change the brightness and contrast when my images are abit dull and to fix red eye. I also use Infran View to put text over images and to sharpen images, which is a free program.
This is actually alot longer than I expected and I really hope I have covered everything, but if you have any questions just pop them in a comment below!