.png)


With an estimated 200 million blogs on the internet today it's sure to say this pastime is a popular hobby and career for many.
But while the number is high I'm sure a large percentage will be that of redundant and infrequently posting blogs. A lot of my own favourite blogs aren't around anymore!
Why? While blogging is rewarding and fun it is time-consuming. It also requires a multitude of skill sets from photographer to copywriter and of course understanding the technical side of your blog.
These two factors alone are enough for anyone's passion for blogging to wane!
However, I've found simplify my own blog routine has made a huge impact on how I feel about blogging and how motivated I am. From increasing my productivity levels to saving a ton of time!
Which is why I wanted to share three not so common ways I've been able to streamline my blogging routine for the better.
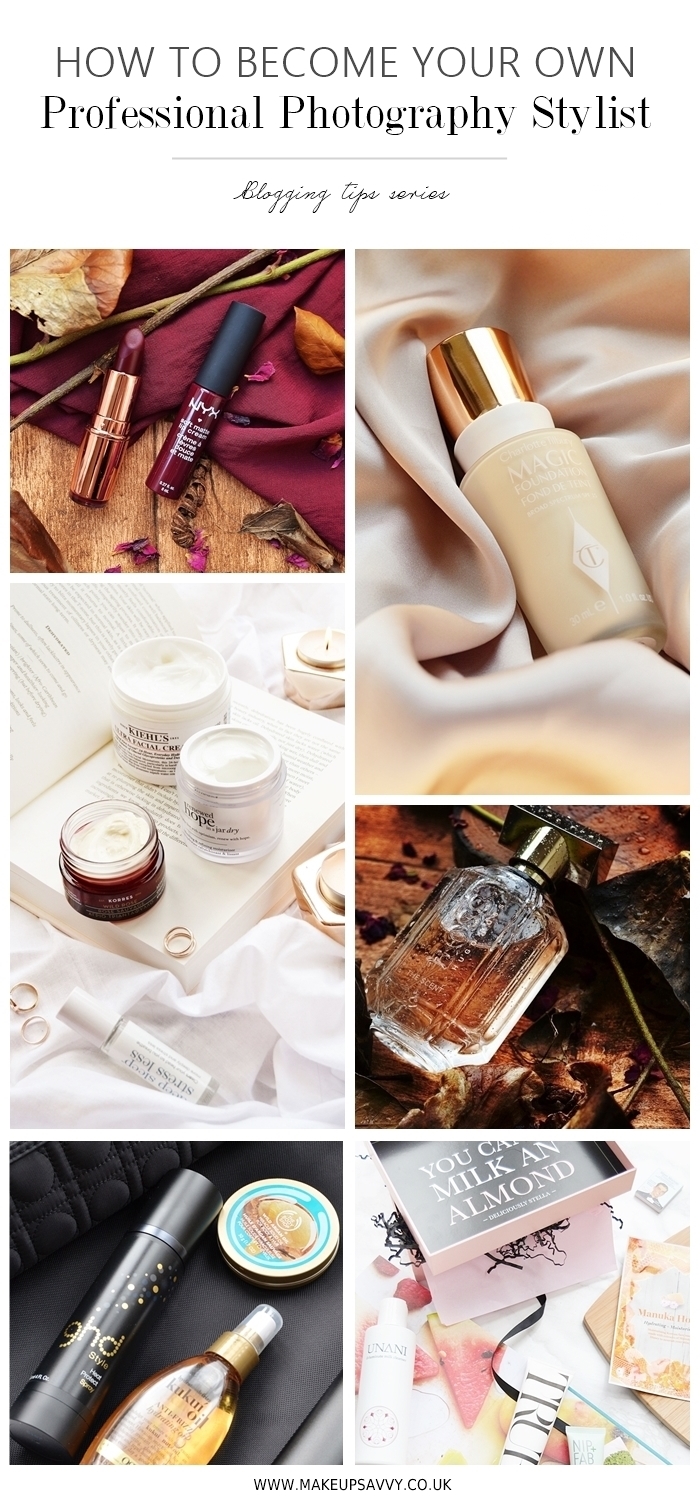
For the longest time the focus was on perfecting a good standard of writing as a blogger with the photography aspect being something that could be muddled through. From taking your own amateur shots to seeking out royalty-free images or even investing is a photo stock bundle. Fast forward to 2018 and I think it's fair to say both the written and visual content of a blog is now of equal importance (give or take a few blog niches).
These days brands are not only looking for blogs and Instagram account to collaborate with that have basically professional photographer lever skills but readers are also wanting, and to some extent expecting, to see visually pleasing blog content and grids. High-quality content all round is the new norm!
So, while I've pretty much covered the flat lay basics (and beyond) of blog photography I thought it was about time I shared solutions for some common flat lay mistakes that can mean the difference between your images looking amateur and pro! If you have any specific flat lay questions then feel free to leave them in the comments below and I will try to answer them as best I can.
Sponsored content is something that's now very much intertwined with blogging and if you aren't there with your own blog just yet, the chances are you are hoping one day soon it will be.
However, it's not all about landing that sponsored post and then getting the job done. It's about working to a brief while maintaining your true voice and then hopefully adding a bit of sparkle to it that will draw people to want to read it. It's also about impressing the brand you are working for to avoid glitches and in the hope they will want you to create content for them again in the further.
From selecting the right proposals to working in a time-effective way with some handy tools to creating natural content in your usual style. I hope this can be used as a guide to creating killer sponsored content both for your client and readers!
When I first started blogging back in 2010 I didn't have a clue how to use Pinterest to bring traffic to my blog. In fact, I thought of it as a place to save/hoard cute puppy images and as another social media platform for people to follow me on.
Fast forward to 2016 and I finally realised that Pinterest is very much a search engine and was a tool I needed to be using! Since then I have constantly experimented with what works and what doesn't and can now happily say that Pinterest brings a huge 7,000-10,000 pageviews to my blog every month! This is a figure I'm beyond pleased although I aim for it to increase over the coming months and years as traffic from Pinterest really is limitless and is all about the consistent effort you put in!
So, of course, I wanted to share what I have personally learnt over the past 2-3 years so that you too can have a slice of the Pinterest pie - actually I have wanted to write this post for the past 6 months! From optimising your profile to creating eye-catching pins and even increasing your chances of having your very own viral pin that will bring endless traffic to your blog. I hope this post can be used as an in-depth guide to finally creating Pinterest traffic success!
For the most part, blogging as a hobby or even as a career can bring amazing things; creativity, freedom, lifelong friends and a part of the internet to call your own. But there are drawbacks which go beyond the cliques of "it can be lonely" and "blogging will take up most of your free time".
Which is why I thought it was about time we discussed some of the true drawbacks to blogging (along with a few positives, mind) that barely get mentioned!
This post has been on my to-write list for some time. In equal measures, I've wanted to write this post because I'm all for working smarter and not harder, but on the other hand I hardly ever talk about making money from blogging! But I think it's fair to say most of us want to make a success of blogging and have a slice of the pie when it comes to making money from it!
So here I am finally sitting down to write this post because I feel there's a lot to talk about and endless ways of boosting your income through blogging. All without figuring out how to bring more traffic to your blog, which can be a total minefield, read: headache.
Depending on the niche, blog photography can make or break a blog. In today's visual world readers want to see bright, themed images that not lot only look aesthetically pleasing but compliment written content.
For this reason, flat lays are now the most common style of blog photography! They're not only pleasing to the eye when done right but even with a range of inexpensive props you really can create a setup that wows in minutes.
However, there is a definite knack to creating natural yet engaging flay lays that can ultimately make someone want to click through from a social platform to your blog! Which is why it's important to get the basics right!
Below will you find a step-by-step style guide to creating the ultimate flat lay, from how to setup your shot to what factors decide your colour scheme and the props you will use. I hope if you're looking to improve your blog photography this post will come in useful!
Everyone loves a shortcut, right? Whether it's a hack on how to tidying up quicker or getting through your to-do list in lightening speed.
I'm definitely someone that seeks out these shortcuts, pinning them to my Pinterest page or giving them a go straight away. However, I've realised there isn't much about making blogging easier or quicker online. And while blogging is fun and a hobby for many it can be time-consuming. Which is why I thought I'd share with you a few of my own tips.
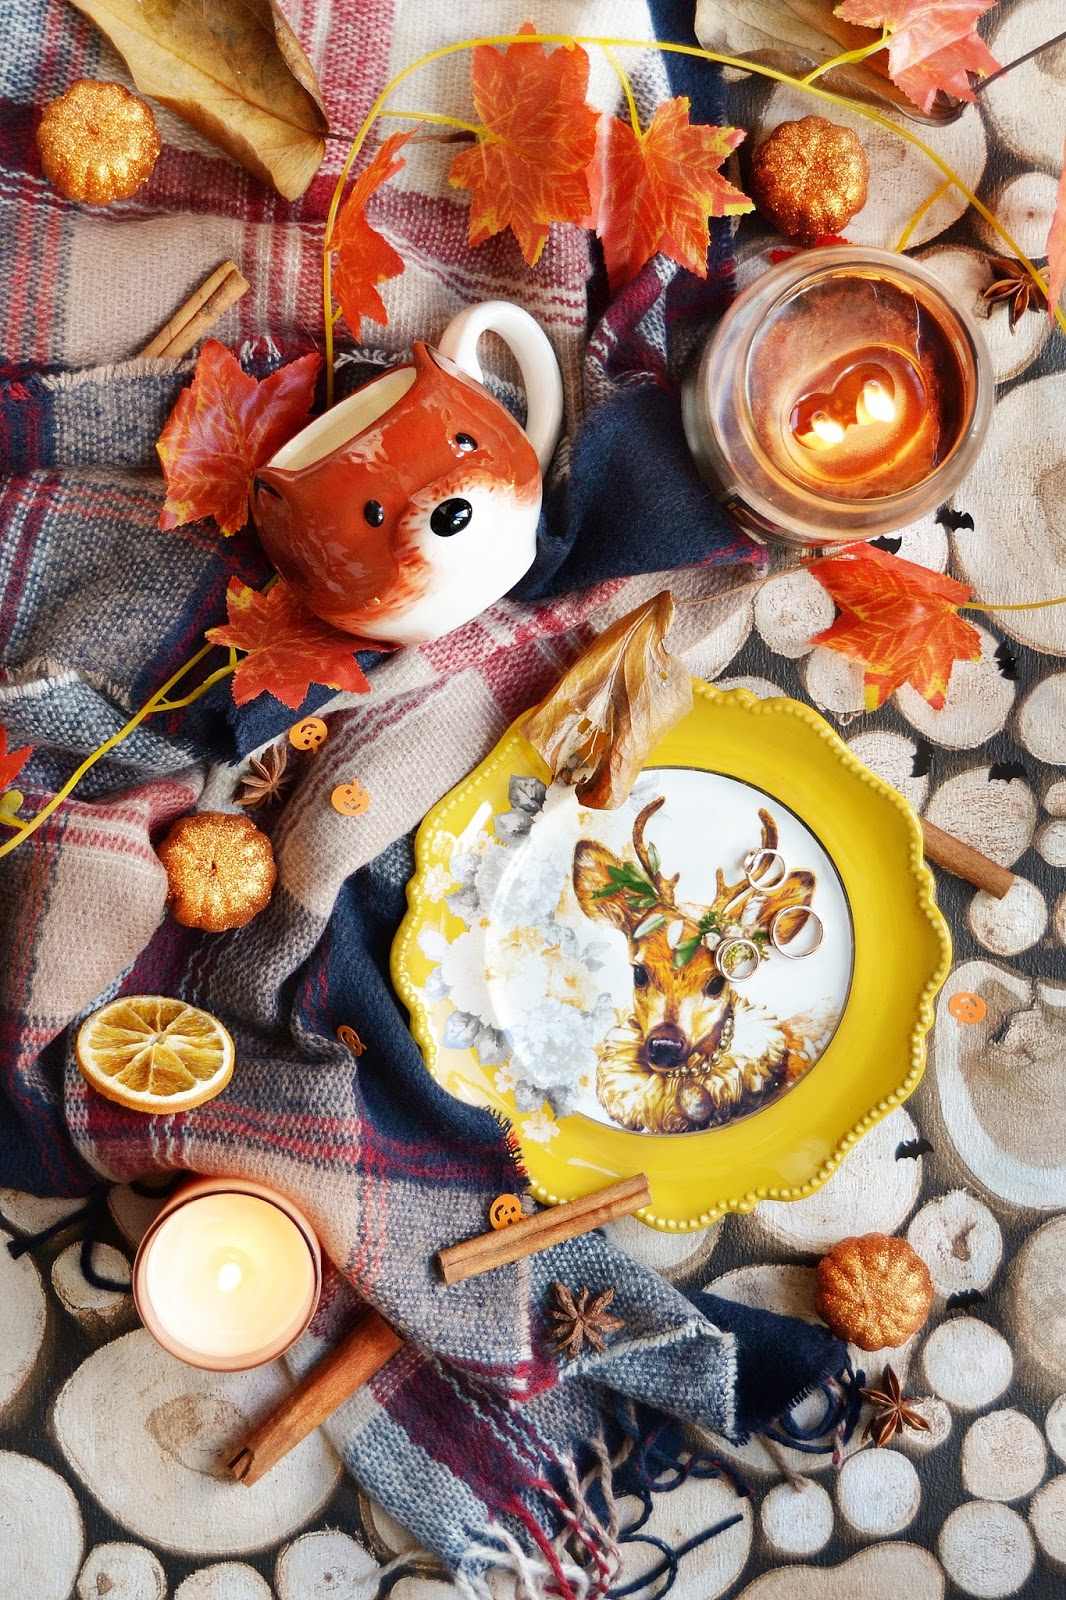
With the arrival of a new season, I think most beauty & lifestyle bloggers are thinking of how they can update and style up their flat lays.
As I particularly love cosy autumnal images and start to hoard blog props for Autumn, Halloween, Winter and of course Christmas right about now, I thought I'd share some inexpensive items I've picked up recently.
Along with quite a few other blog prop ideas that won't break the bank!

There's no denying flay lays have become the millennial way of sharing images online. From taking that instagrammable shot to setting up the perfect flat lay for a blog post; I think we are all keen to up our flat lay game right now.
Whether it's to showcase a product, sell a lifestyle or simply to be creative, a flat lay done right can achieve this and more. Which is why I wanted to share with you three pretty simple tips that can transform any flat lay into something much more pro. I hope my easy tips and tricks can help!

Frustration amongst blogger trying to grow their blog and social platforms is very real right now.
I personally know of numerous bloggers hitting continuous brick walls when it comes to growth and they're getting sick of it. Basically, blogger deflation is at an all time high!

Today I want to talk blogging, actually becoming a blogging in 2017 or being a new blogger and striving for success, whatever that means to you.
This is a topic that's been on my mind for some time but now felt like the perfect time after social media star Sarah Ashcroft recently spoke with Cosmopolitan about her rise to fame/success and how she feels about blogging today. In the original article, which has now been changed, Sarah had quite a few negative opinions about the blogging community along with believing the blogging world is saturated and new bloggers are lacking originality. The only way to stand out according to Sarah is to do something completely original.
Seven years ago I decided to start Makeup Savvy to share my love of makeup and it turned out to be one of the best decisions I've ever made!
Which is why I thought it as about time I sit down and write about how to write a successful beauty blog. Or should that be "How to write/start a successful beauty blog in 2017"? Because there's no denying the idea of blogging with any kind of success is daunting right now (I'm currently in the process of setting up a new blog... and I'm feeling it!). Especially in the saturated genre of beauty blogging. However, that shouldn't hold you back if you feel passionate about it!
Below, I have covered the basics; from the initial set up a blog (which platform to choose, buying a domain, deciding on a template) to the do's and don't of blogging and what your long term focuses should be if you plan to write a successful beauty blog. Whether you are new to beauty blogging or already write an established blog I hope you can find a few helpful tips here.
I'm currently in the slow process of creating a 2nd blog, focusing on blog tips for fellow bloggers growing their blog! But with so many ideas flowing right now I decided I couldn't hold them all in until I launch Blog Savvy.
So today I'm not talking pretty makeup, but how to write killer blog content! With weekly blogging, content can easily become throw-away and get buried in your blog archive receiving very little page views, if any! But with mindful blogging, keeping the below blog tips in mind, that doesn't need to be the case for all of your content. Even implementing just a few of these tips can see blog posts continuing to get views years down the line and even result in a few strong posts going viral!
When it comes to blogging I have time on my side, generally. And I'm thankful for it! Blogging is my main career and the only thing I have to deal with is an ageing dog that wants to constantly sleep on my lap as I blog. I have no distractions, other than my procrastinating ways and my introvert personality means I'm never needing to juggle an active social life with blogging... there just isn't one!! Side note: I'm fine with this, I have Netflix.
But there have been more than a handful of times when I've felt like I've had no time to sit down and blog. From life commitments to periods of being ill and having zero energy... which isn't a lack of time as such but I'd saw my time was taken up by being in bed! However, through these times I've learnt how to get sh*t done as it were and plough through blogging like a champ. I don't think I've ever used the word 'champ' before.
I've now come to realise that I like to blog in this way (detailed below) most of the time. It's productive, it cuts out the chance of procrastination and it frees up my time to watch more documentaries and tell my dog how much I love her! So, below are some time-saving blogging tips that you can hopefully take on board and put into action when time is limited. Here's to blogging efficiently and never worrying about not blogging or going off schedule, again!
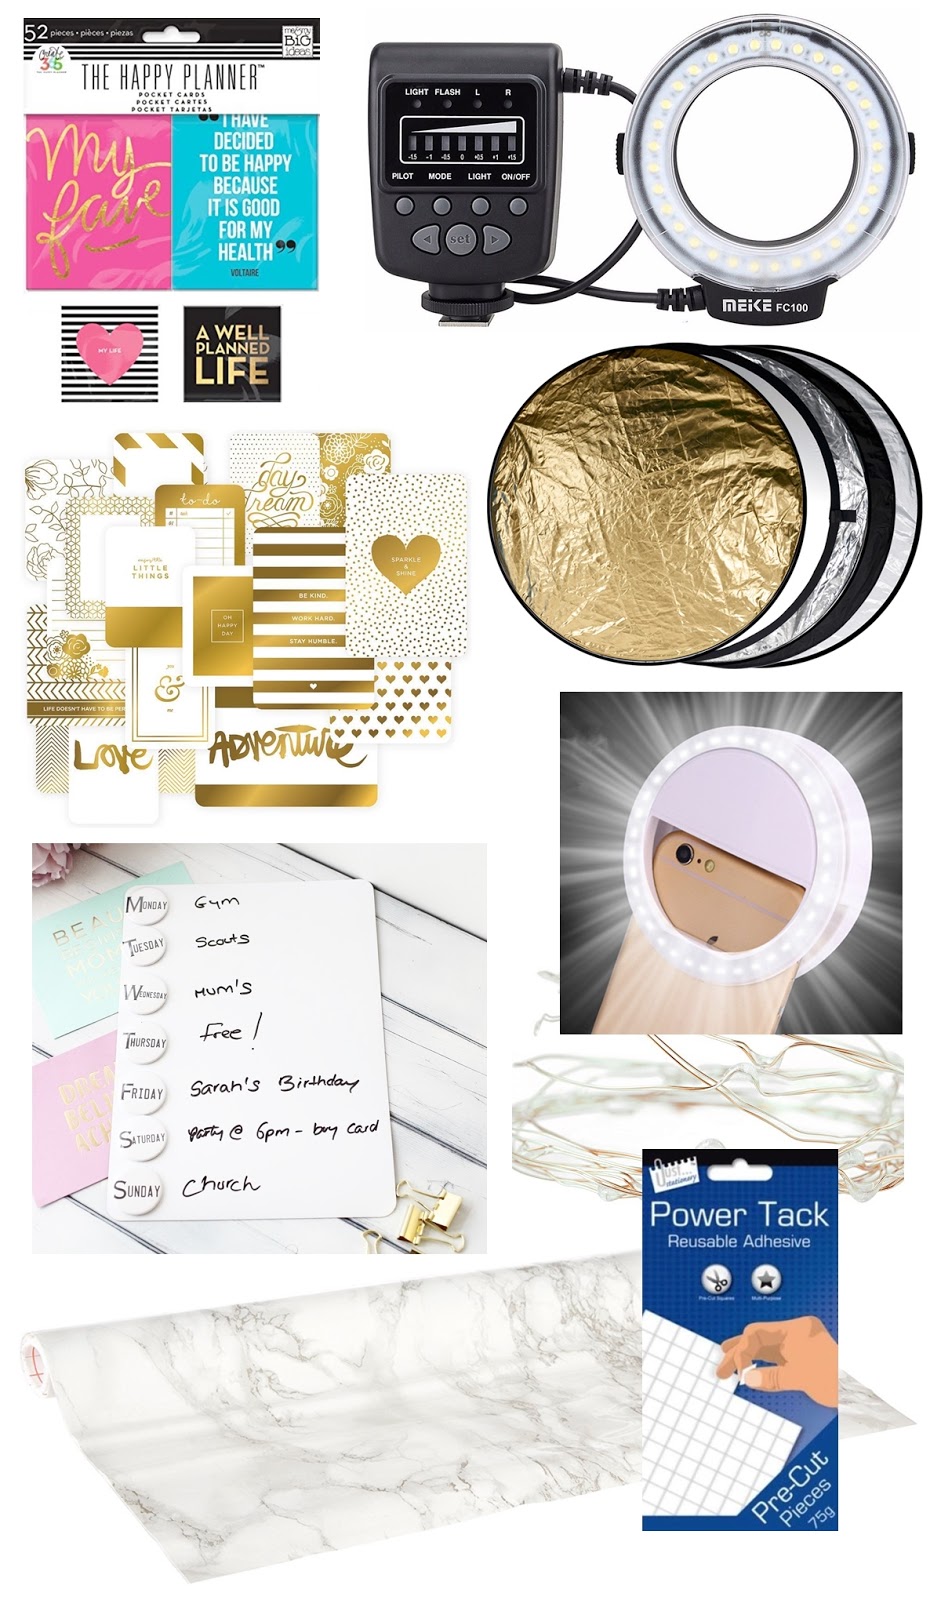
It's been more than awhile since I've put together a blogger themed eBay finds post and as it went down well last time I thought I'd create a more updated version!
I've made sure to include items that I already use for blogging and UK items where I can - fast delivery! Hope you find a few bargain buys here!
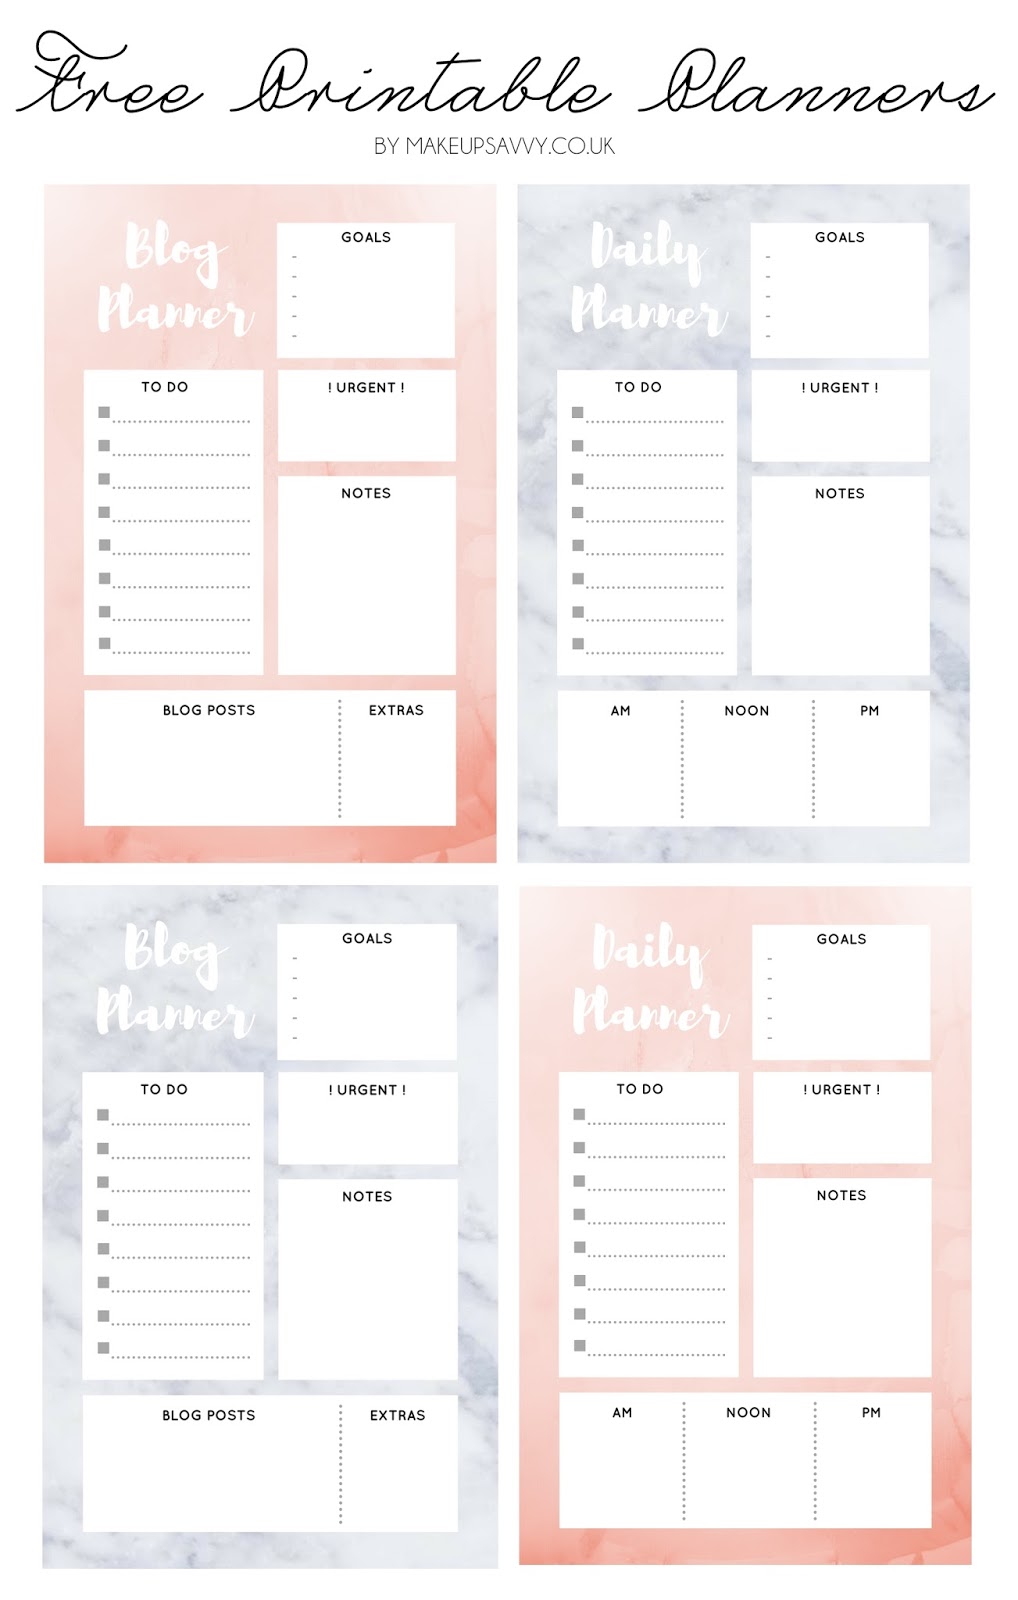
However, in the past 2 years I've become a daily planner fan! I have a whiteboard, a tear-off planner notepad, a swish ring-bound desk planner and I even have my own personalised planner sheets... just because! It's all a bit obsessive, but it keeps me on track (kind of)!
So I thought I'd share the love and create some free printable daily planners for anyone that wants one!
If you told me last year that I'd be sitting down to write a fairly negative post about Bloglovin', I really don't think I would have believed you. You see I've been using Bloglovin' for over 5 years now and it brings me a decent amount of traffic due to the 90,000+ followers I've accumulated in that time. So I'm pretty grateful!
Plus, I use it daily to keep up to date with blog posts from all my favourite blogs.
But recently there has been a massive shift in how Bloglovin' are conducting themselves as a platform that is potentially harming a lot of bloggers hard work. And the strange thing... it seems to have gone unnoticed!
One of key elements of blogging is the visual aspect. Of course, not all blog niches focus on it so heavily, but on the whole photography alongside well-written articles can set your blog apart from others. Thus attracting more readers.
I absolutely love to get creative with my own blog photography, so today I thought I would share my own tips and tricks on how to style and shoot your blog images like a pro.
The Basics
Photography Backgrounds
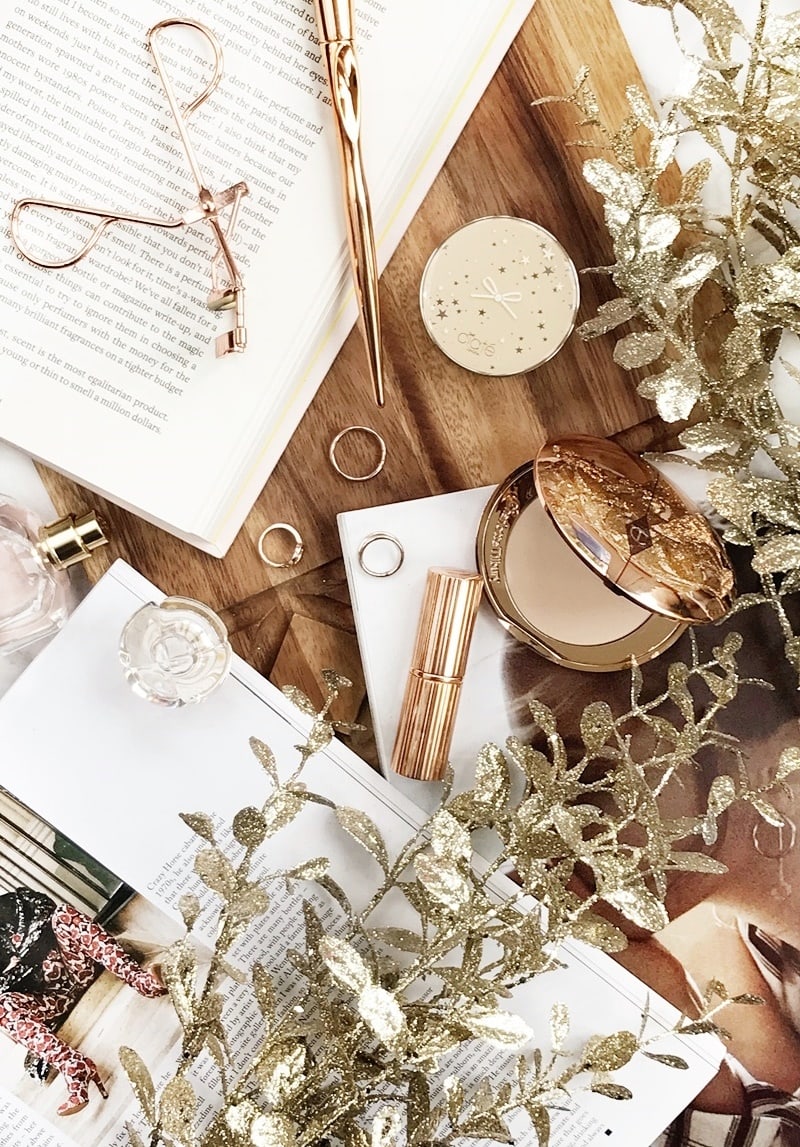
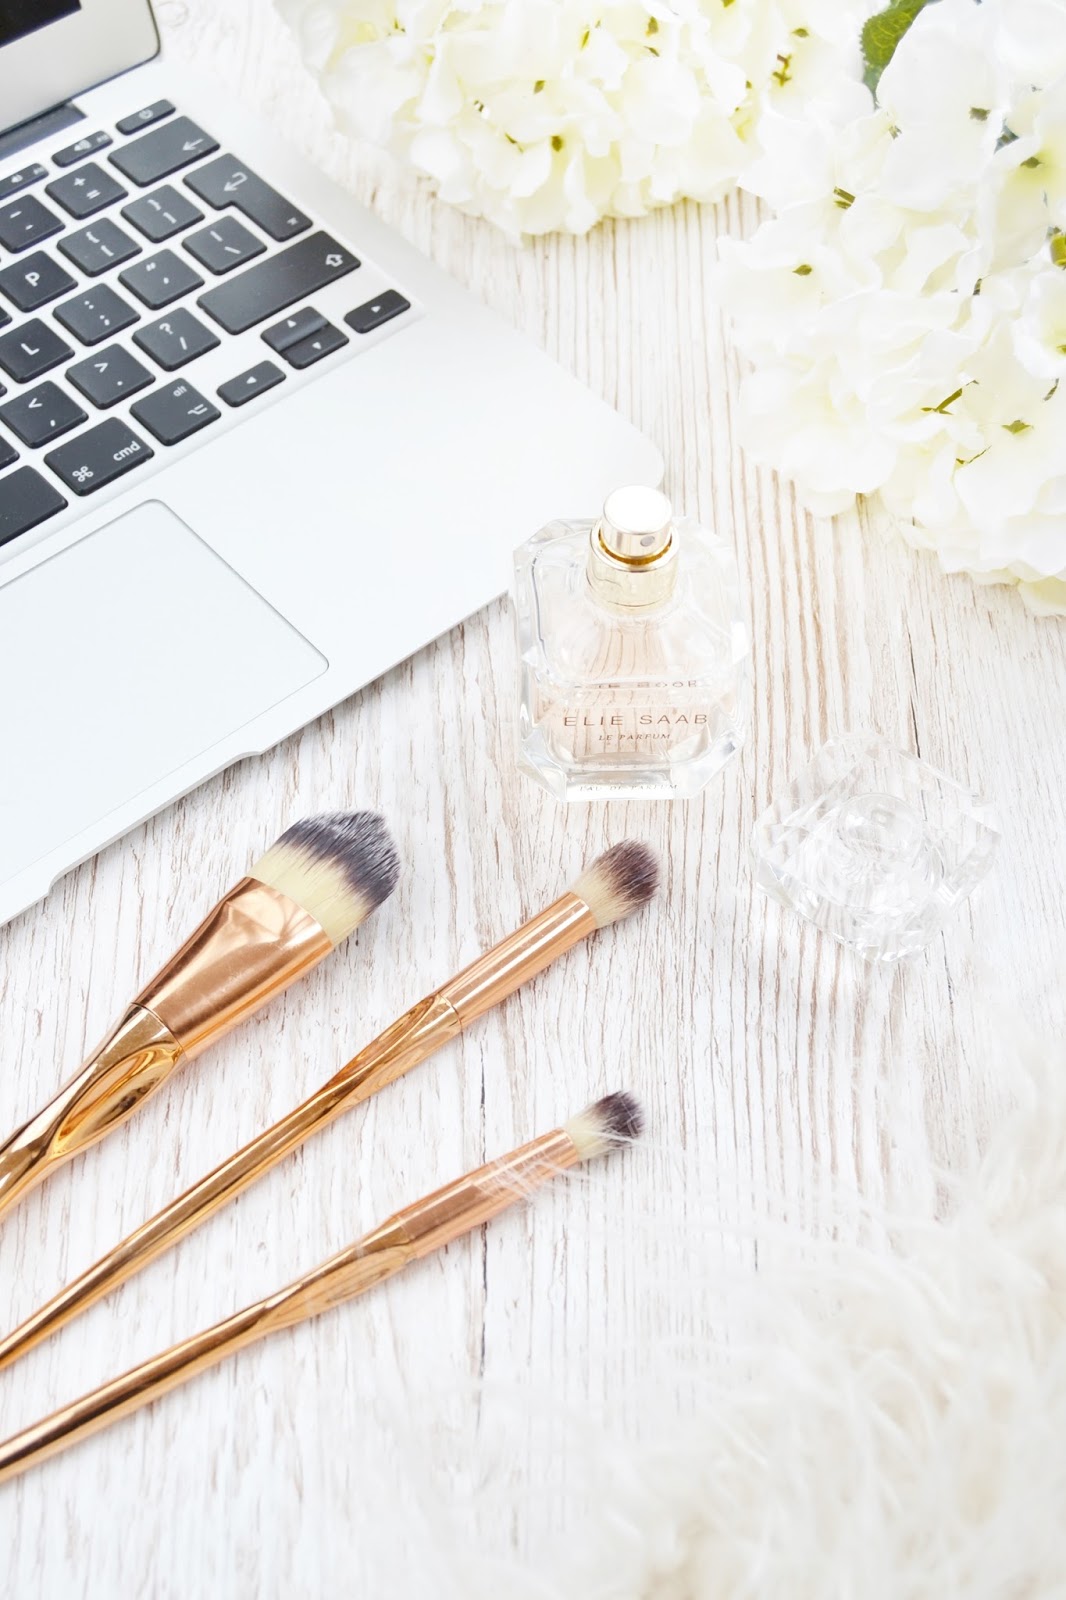
Starting at the beginning we need to talk backgrounds. The most popular choice for bloggers (myself included) is a plain white matte background or faux marble. Both of these work well as they don't overpower the subject matter. However, taking inspiration from editorial still-life images can help to broaden ideas. Matte pastel backgrounds (bought from craft stores) can work well even using more than one colour either joining them together or overlaying them. For richer images try out more detailed backgrounds such as aged wood or slate. If you can't get your hands on anything, finding wallpaper samples in your local DIY store can be just as effective! Reflective surfaces also have their place, I especially like acrylic sheets (eBay here) which are inexpensive and can be bought in any colour, you can see an example of how I used a black acrylic background here. To add interest or to give a certain feel to the image, material can work well. Not only is it more fluid in appearance but you can style it to work with the objects you are photographing.
EXAMPLE: Effective use of wallpaper as a backdrop here
EXAMPLE: Favourite use of material as a background here
Creating a Prop Box
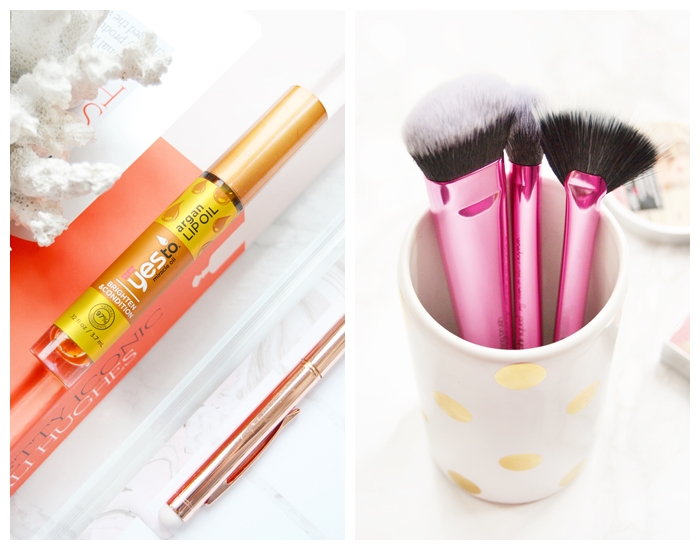
Having a large variety of props on hand for your images is essential. These can be anything from notebooks and stationary to plates, ribbon and dried flowers. Flowers and even food can also work well to dress up a shoot into something more interesting. As you can see in the above fragrance image I used leaves and water from a spray bottle to create an autumnal/winter feel. Though my personal favourite props are satin ribbon (you can find a cheap listing on eBay here), dried rose petals (eBay here) and books/magazines. However if you are looking to achieve more editorial style images then thinking outside of the box with unique props is key. For ideas flicking through your favourite magazines should help with your own creative inspiration.
Choosing a Colour Palette
Colour is definitely something that should be explored within still life photography. For styled images sticking to a palette of 3-4 colours always works well. But there may be times you want to stick to a single colour to add impact or go all out to create a vibrant image with an unlimited colour palette. All monochrome or pastel images can also work really well. Here it's about being aware of colour while also having fun because there really aren't any rules!
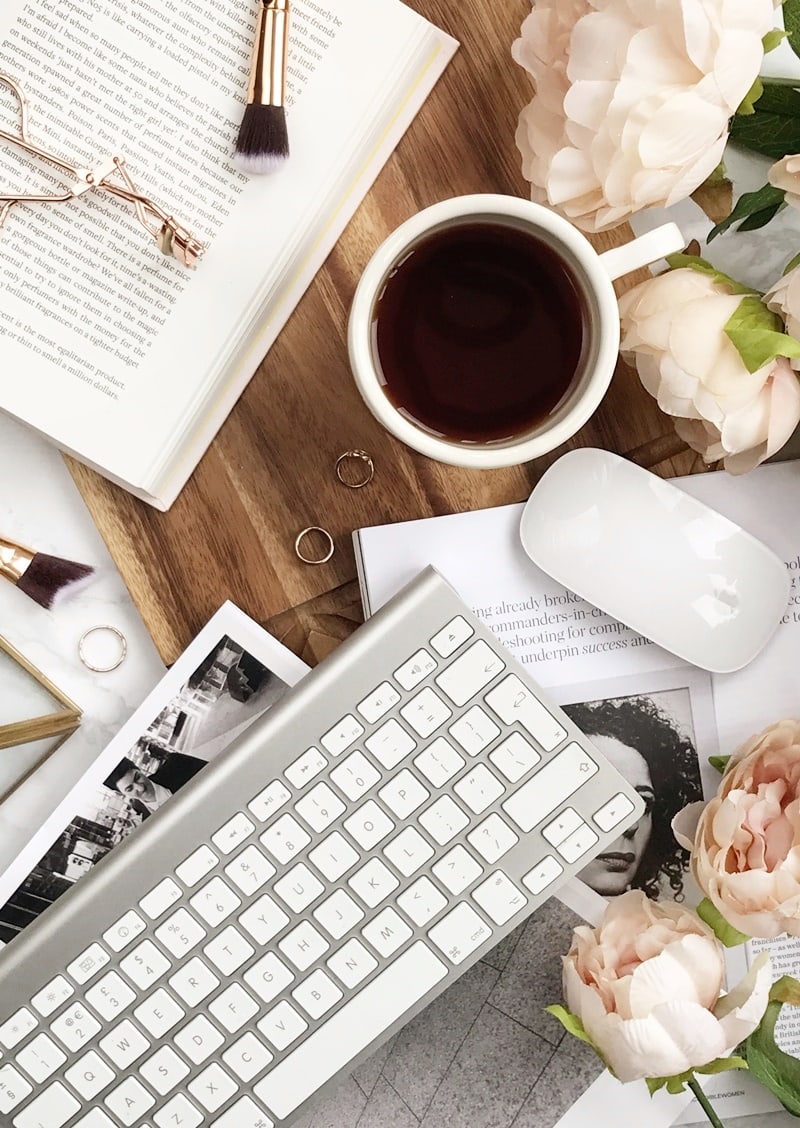
To Flat Lay or not to Flat Lay - Talking Angles
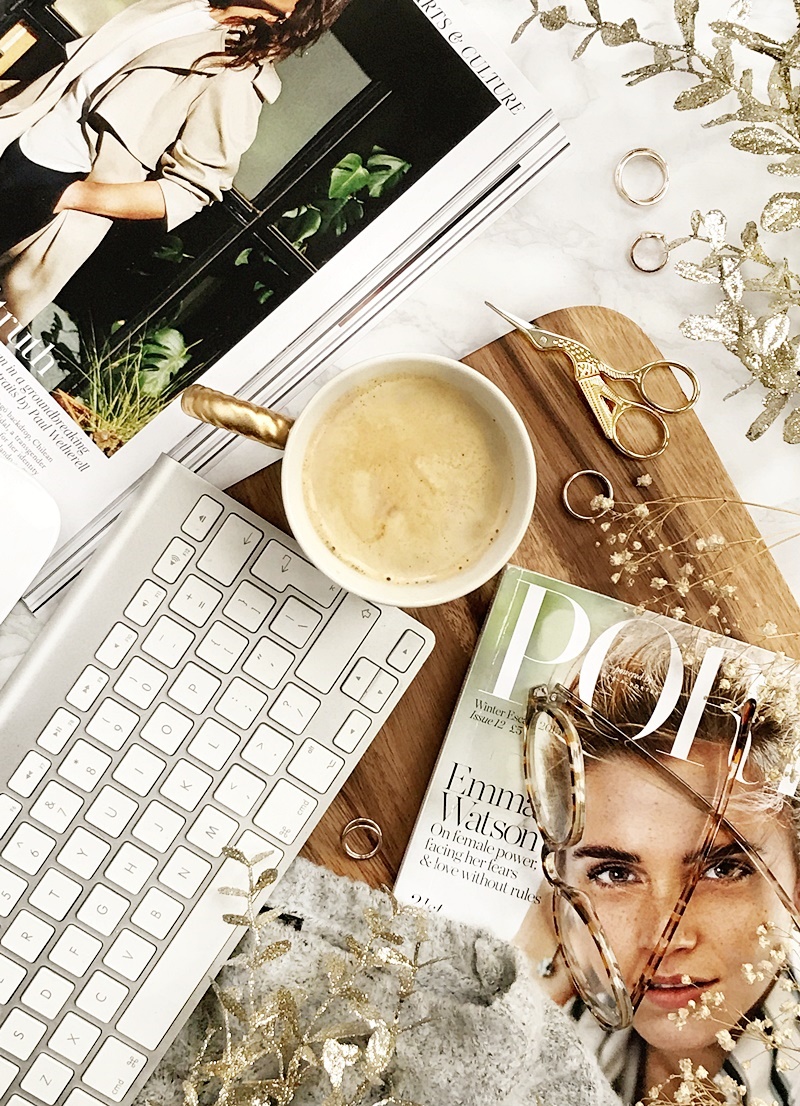
Deciding to shoot in a flat lay style, directly above, or at an angle really is personal preference. I often like to mix it up to make sure my images don't appear to same-y and just to add a bit of extra variety and interest. When shooting a flat lay from above I like to stand up straight and lean over my shot and zoom in if I feel I need to (sometimes a tripod is required). If you have quite a lot going on in your setup you may want to grab a small stool or even a pair of compact step ladders to capture everything. This generally isn't needed when it comes to photographing makeup products as a beauty blogger but for larger items, or showing what the products are placed on (maybe a table or bed) then getting up high and shooting directly from above is key. As for shots from a slight angle the main benefit is that is allows for a depth of field to be created (a blurred background) which gives a stronger focal point and is always pleasing on the eye. I personally prefer to shoot in this way as products can appear more tactile as the shape of them is more visible than in a flat lay, it also allows for soft shadows to be created.
Example post with a mix of flat lay and traditional angle shots here
Flat Lay Styles
The main type of flat lay in the blogging world is one that sets the scene/tells a story. These generally include a focal item with other items staged around it in a natural way. However, there are so many other ways to shoot flay lays that can expand your ideas. Below are the main types of flat lays that all work well for blog photography and social media posts.
Side note: Flat lays have become increasingly popular on social media. Other than being aesthetically pleasing, they are a popular choice for many for a reason. The lens on a phone is greatly different to an actual camera and can often distort the perspective and shape of products when shooting from an angle, making it pretty obvious the image has been taken by a phone camera. Shoot directly from above and that problem disappears!
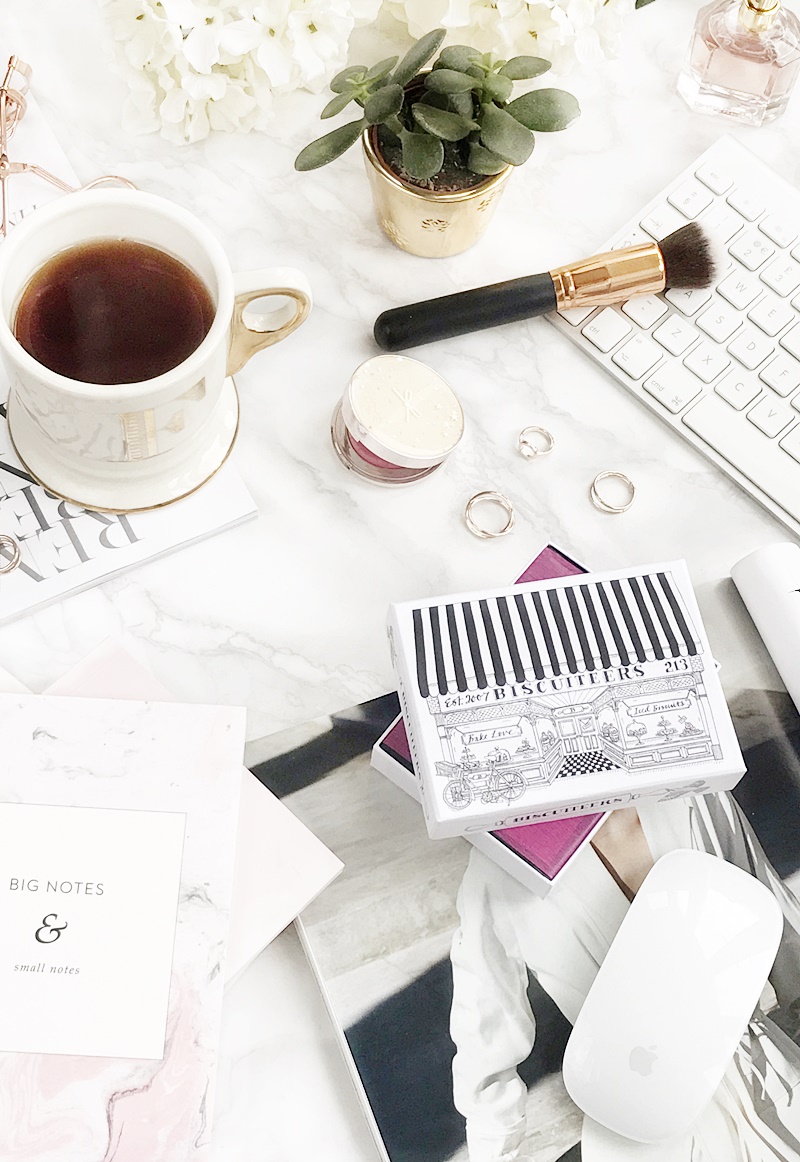
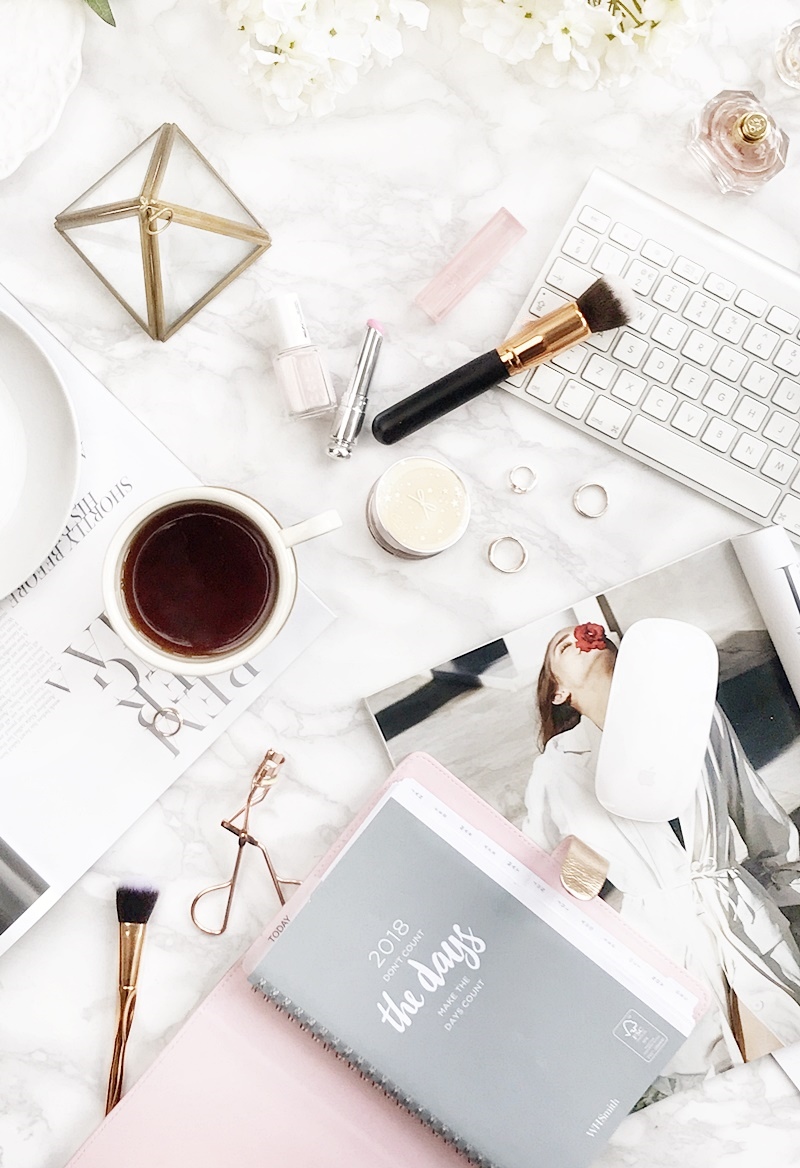
The "setting the scene' flat lay
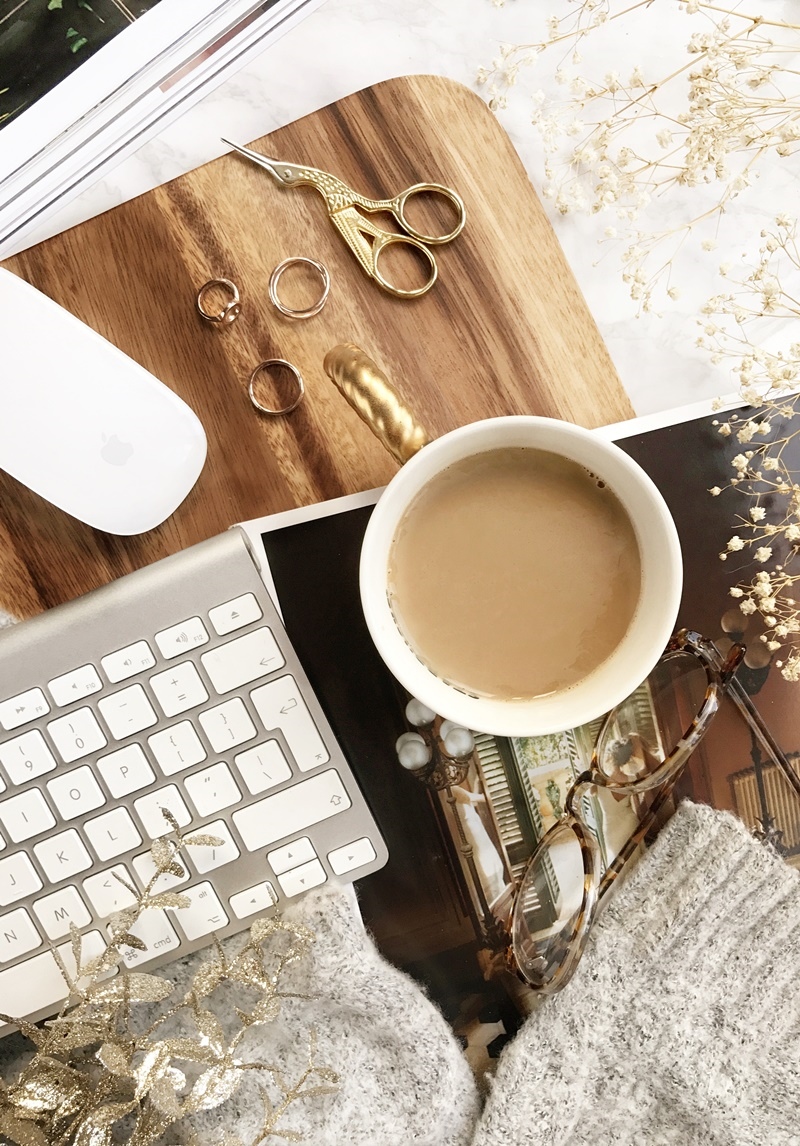
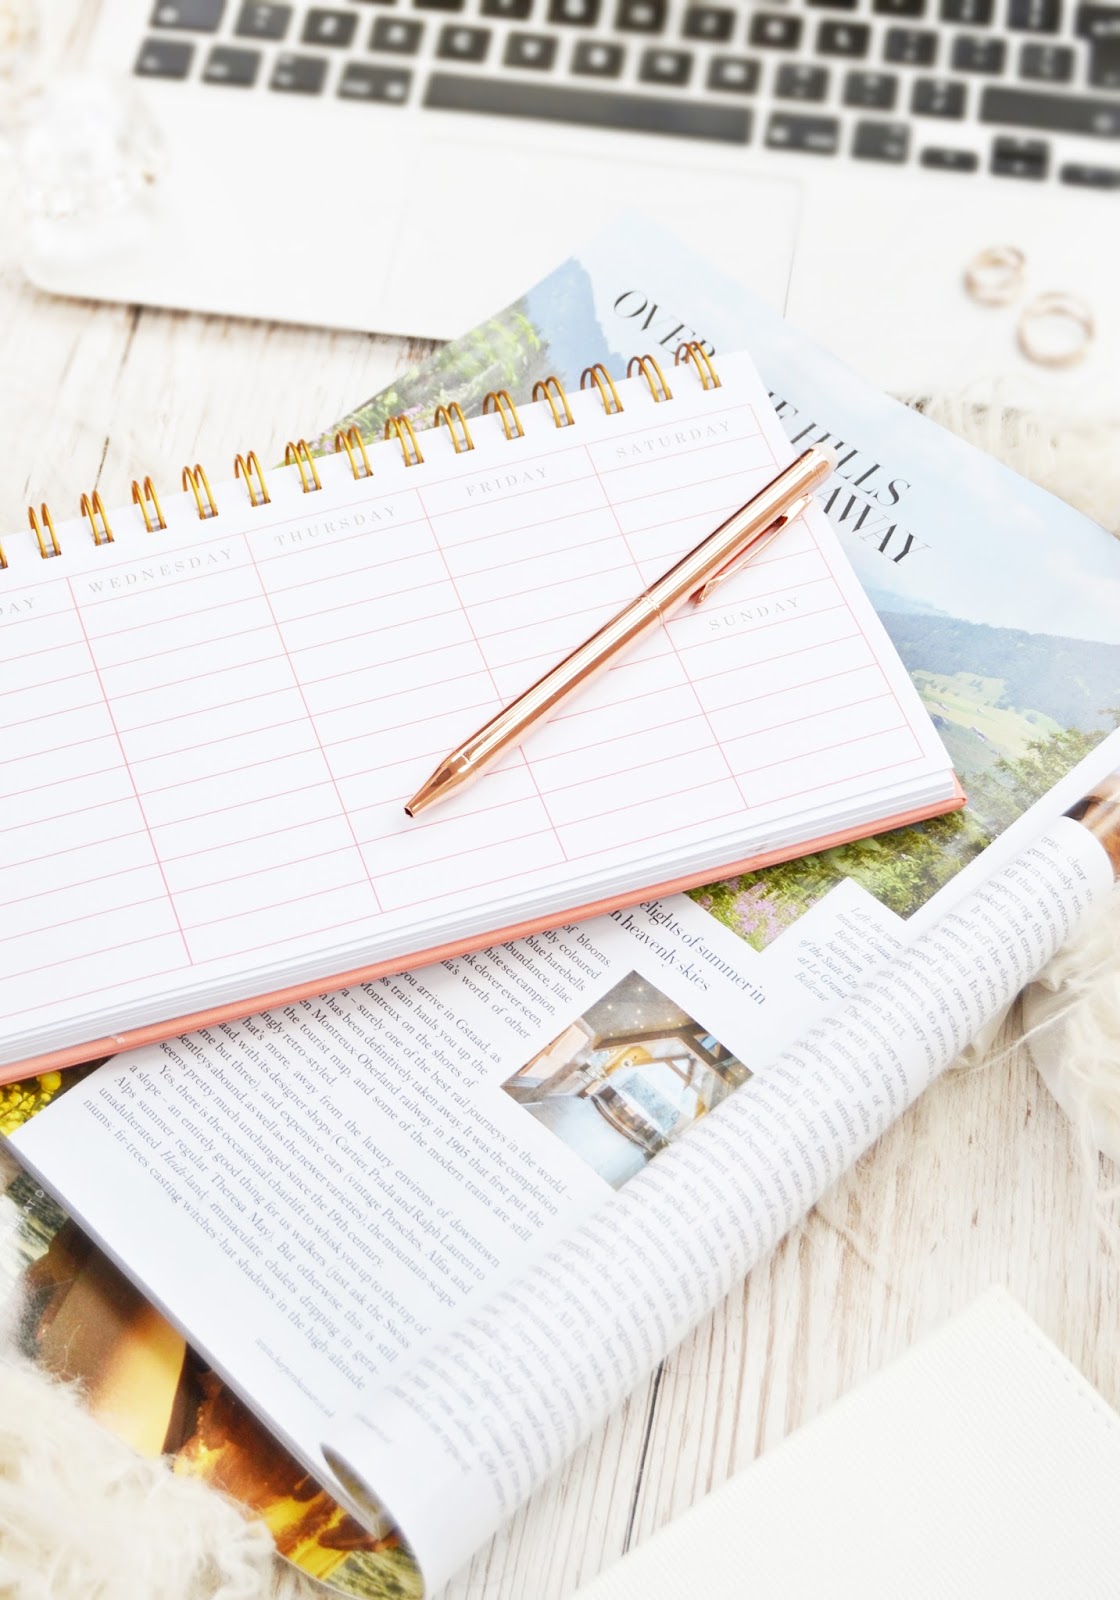
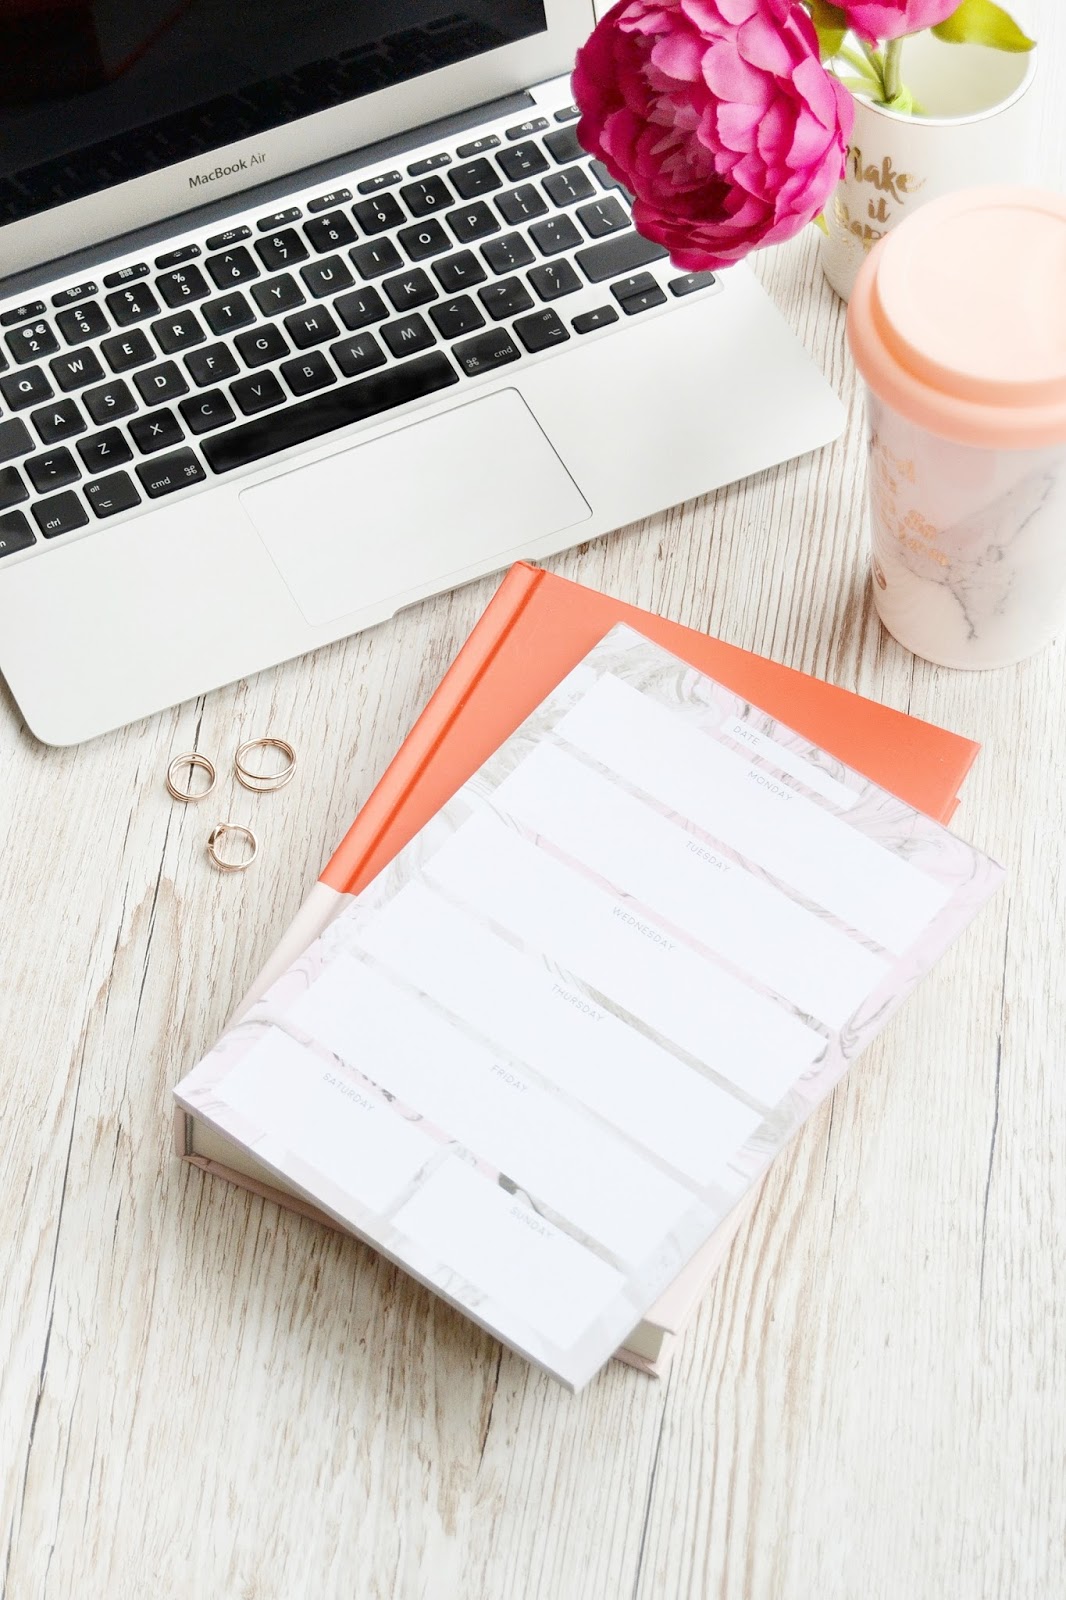
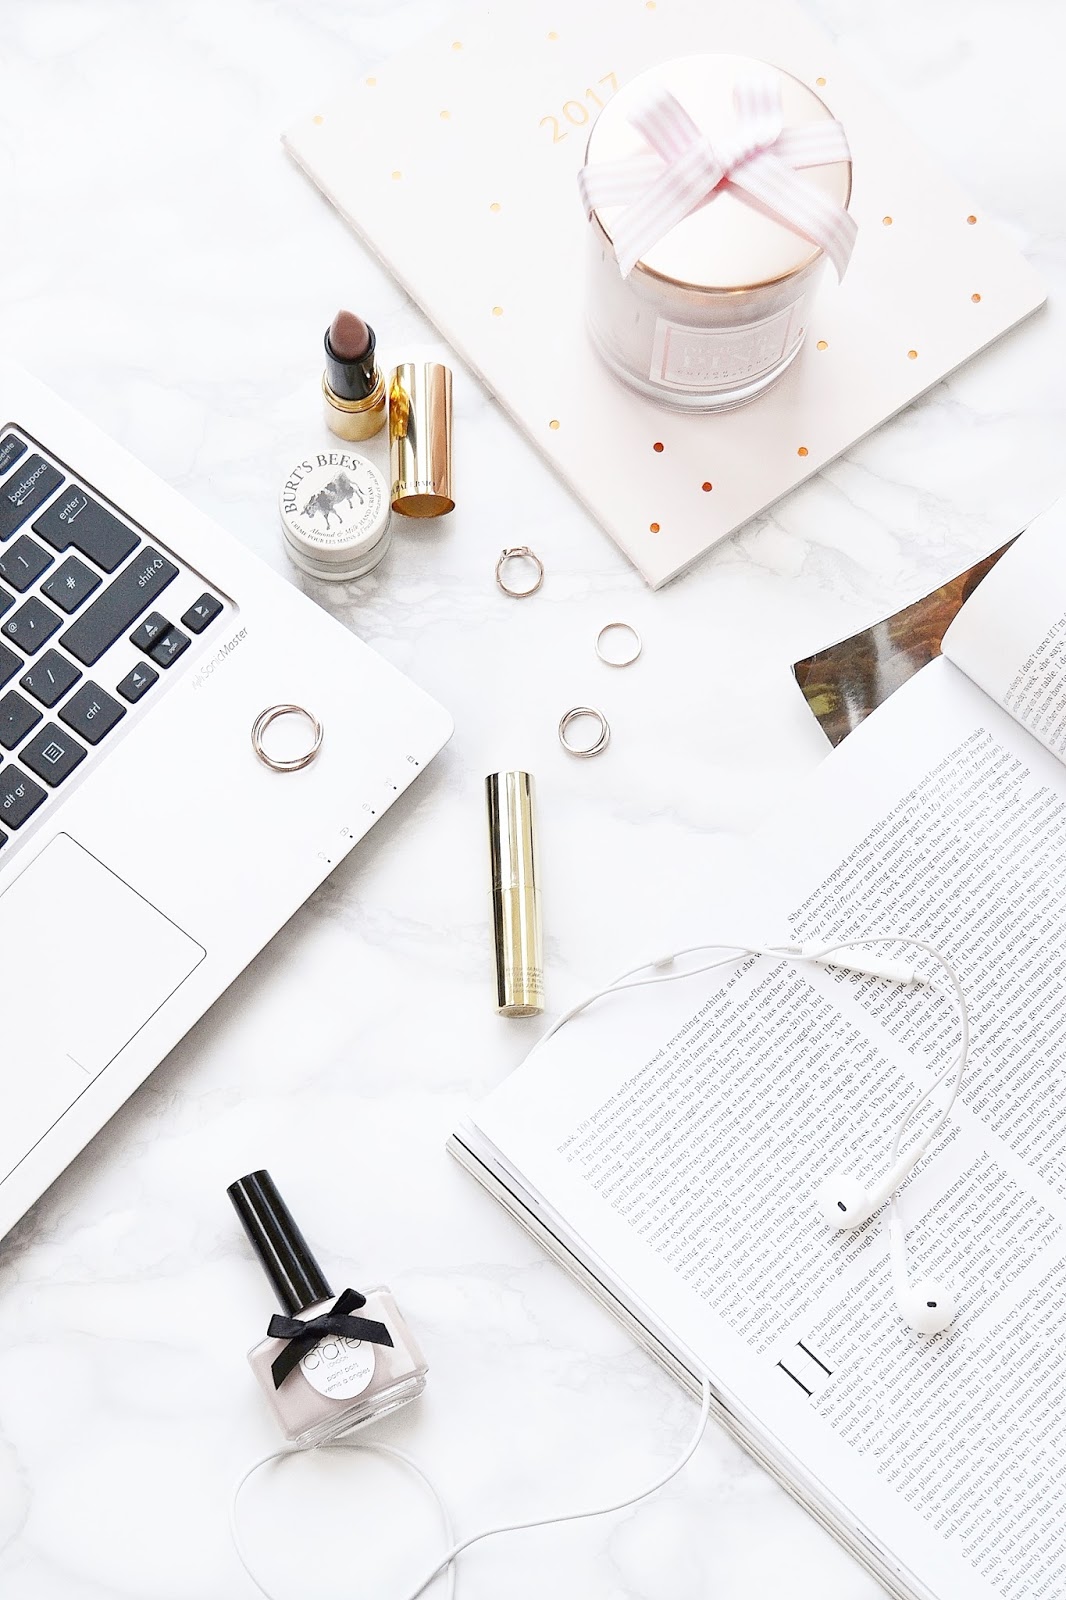
As I explained above this is the most popular type of flat lay for bloggers. Anything goes here really, as long as it makes sense and tells a story or sets the scene that is! For example when writing a blog post that's about blogging I often photograph the keyboard of my laptop, a notebook, a pen and even a few extras like a few plants or flowers and even a cup of coffee. This is a relatable scene and goes well with the blog topic I will be writing about. Talking about products to induce sleep? Photograph them on a white duvet with a cosy looking throw, a candle or two and even a pair of slippers, instantly setting the scene and creating a serene image. This kind of flat lay is so simple, yet so effective. Want to go one step further? Try an "action" shot by including your hands into the image to really make your story come alive. For this you will need a tripod and your camera on the timer setting or a willing helper!
The "organised' flat lay
If you like to keep things neat and simplistic then the organised flat lay style may be for you. The best way to start is to imagine a square or rectangle and place items within it, generally at equal distances apart .This does however mean you won't have a focal point as all the items will appear equal. Not all of the items need to have straight edges but using items with straight sides for the outer part of your imaginary straight edged shape reinforces the shape and the neat look you are going for. This becomes even more effective when paired with a single or minimal colour palette to give a contemporary editorial look. This style is perfect for sharing a similar collection of items, for example your skincare stash or the contents of your bag, albeit the receipts!
EXAMPLE: The Makeup We Buy
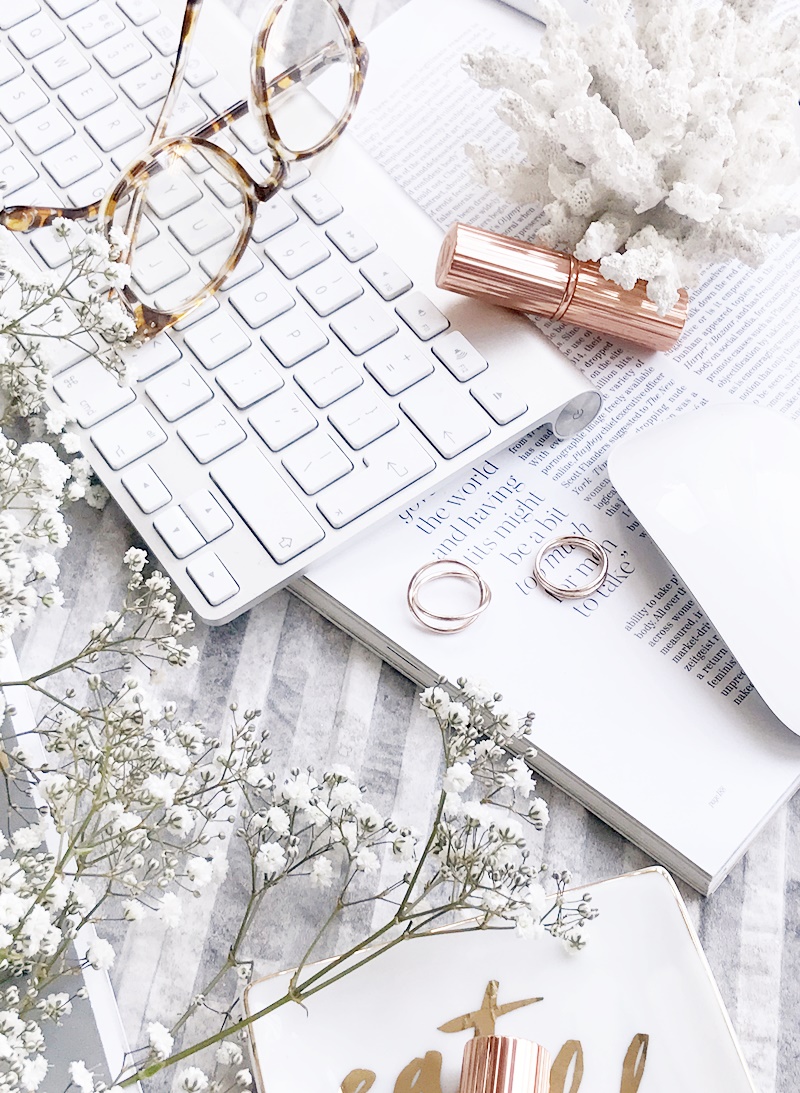
The "all about white space" flat lay
In photography white space can say a lot whilst remaining a simplistic looking image. But in blog photography it's slightly different and can give your focal product that you want to write about the space to breathe (and shine!) or even create a nice space overlay title text when it comes to editing your images. This style isn't as common, but with a focal product and one or two items to support it the shot can really work and look beautiful.
EXAMPLE: Luxury Beauty Favourites
The Main Elements of Photography Styling
Placement
I could write endless blog posts on styling (don't worry, I won't!) because there are so many elements to it. The main element that can make an image shine is placement. Depending on the type of image you are wanting to convey you may want to give products equidistant space and lay them mostly flat (good for flat lays) or mix this up with over lapping items with some stood up (good for shooting at an angle). Also opening up products for example a makeup compact or a magazine can give a more realistic yet editorial look to your images.Lighting
Lighting is another important element to be aware of. Natural even lighting is a must, so shoot in front of a large window if you can and avoid using flash at all costs. However shadows may actually be your friend and often play a large part in editorial still-life shoots; from soft shadows cast from the products you are photographing (example) to deliberate harsh shadows that add extra interest and dimension (example).Hopefully I've covered the basics with this post and have given some food for thought when it comes still life blog photography.
Let me know your favourite types of photography for your own blog and to see on others? I have a feeling it may be flat lays!
Fee xo.
Right about now most of us will be feeling super inspired and motivated for the year a head. And if you're a blogger that will also mean writing down ideas like crazy whilst throwing yourself straight back into blogging! I know I'm glad to get back into the routine of it. Minus the constant struggle of taking photos in Winter, mind!
So with blog post ideas flowing and hopefully a much more positive year ahead, I thought I'd share a few pieces of advice that I plan to put to use straight away on and hopefully you can too for a happy blogging experience in 2017!
Be Relatable
For me 2017 is the year of relatable blogging! Of course I don't know about anyone else but I personally want everyone that reads my blog to feel they can relate to what I'm putting out there. Whether that's only reviewing/featuring low cost body moisturisers, because I don't know a single person that spends more than £10 on one. Or sharing a few personal posts on overcoming anxiety and dealing with hair loss. Basically I want my blog posts to be relaxed but informative and most importantly relatable!
But Most Importantly Be You
Carrying on from my above point I think it's so so important to stay true to who you are in life, which if you are a blogger should also carry on through to your blog. I've always believed that a blog is your own piece of the internet to do with as you wish with. So if that means your more into cooking than beauty products right now, then blog about it! Make it a part of your blog... because why not! For me this means blogging possibly about self care, books and of course makeup, because I'm still in love with it!
Be Realistic
Whether you blog as a hobby or as a way to make an income I think it's important to be realistic in what you want to achieve and how you go about doing it. The more you blog isn't essentially the way to gain readers, so starting 2017 with the plan to daily blog may end in a lack of quality content and a feeling of being burnt out! This also goes for social media, the more time you spend on it doesn't necessarily equate to better stats or more followers. Of course as a blogger you have a passion for creating, but it's about respecting that passion as well as yourself. So make 2017 a year of balance! No crazy set rules or feeling you need to be doing what everyone else is doing. Just work at your own pace and enjoy it!
Be Inspired But Don't Compare
"Comparison is the thief of joy" from Theodore Roosevelt, is one of my most favourite quotes. In this modern age comparison seems to have seeped into everything, I mean is it truly normal to compare your own eyebrows to someone elses? However being aware that comparison truly is the thief of joy and will only serve to make you unhappy if the first step to stopping the mental comparison your brain has got into the habit of doing! This of course relates to blogging as it's so easy to compare a fellow bloggers success or even rate of success to what you will think is a lack of your own. This can easily rob you of motivation, even when you think comparison is the only way to achieve it, leaving you feeling lacklustre and demotivated. My personal way to avoid comparing my blog to anyone else's is to be inspired instead. In fact I have a secret board for this on Pinterest where I pin blogs I love and blog posts that have impressed and inspired me. This isn't often directly taken as inspiration for my own blog but to just enjoy others work without comparison... and it works! I feel good about my own blog and love seeing other blogs doing amazing things as well.
If you're a fellow blogger then I hope my four tips have been helpful and can help you blog happy, as I like to put it, in 2017!
Fee xo.
Subscribe to:
Posts (Atom)